This article is authored by Sandy Grekas and originally appeared on KidTripster.
Why go?
An RV trip is a quintessentially-American thing to do. Not surprisingly, an RV trip through the USA is on many people’s bucket lists—both for Americans and overseas visitors alike. If you live abroad, and you’re thinking of planning a trip, I’m here to help.
My family and I live in Sydney, Australia, and we love to travel. I have three children—ages 8, 10, and 13 years old. A couple of years ago, we spent two weeks on a self-guided boat traveling the Canal du Midi in the south of France. We had so much fun that we decided to do a similar kind of trip, but this time, we’d be on land in America.
So what’s the key to a successful RV trip abroad? Meticulous planning. I spent months researching every aspect of the trip. Along the way, I learned some important lessons that I hope will help you on your journey.
So let’s get started!
1. Start with the itinerary
Planning an itinerary in a country as large as the USA begins with asking yourself several questions:
- What does your family want to see?
- How much driving are you prepared to do each day?
- Do you want to rush to see as much as possible or would you prefer to spend more time in fewer spots?
My family and I decided that more is more. As overseas visitors, we weren’t sure whether we would ever get back to this part of the USA, so we wanted to cram in as much as possible. My kids are older, and we’ve traveled this way before; however this approach may not suit everyone. Know your family’s travel style.
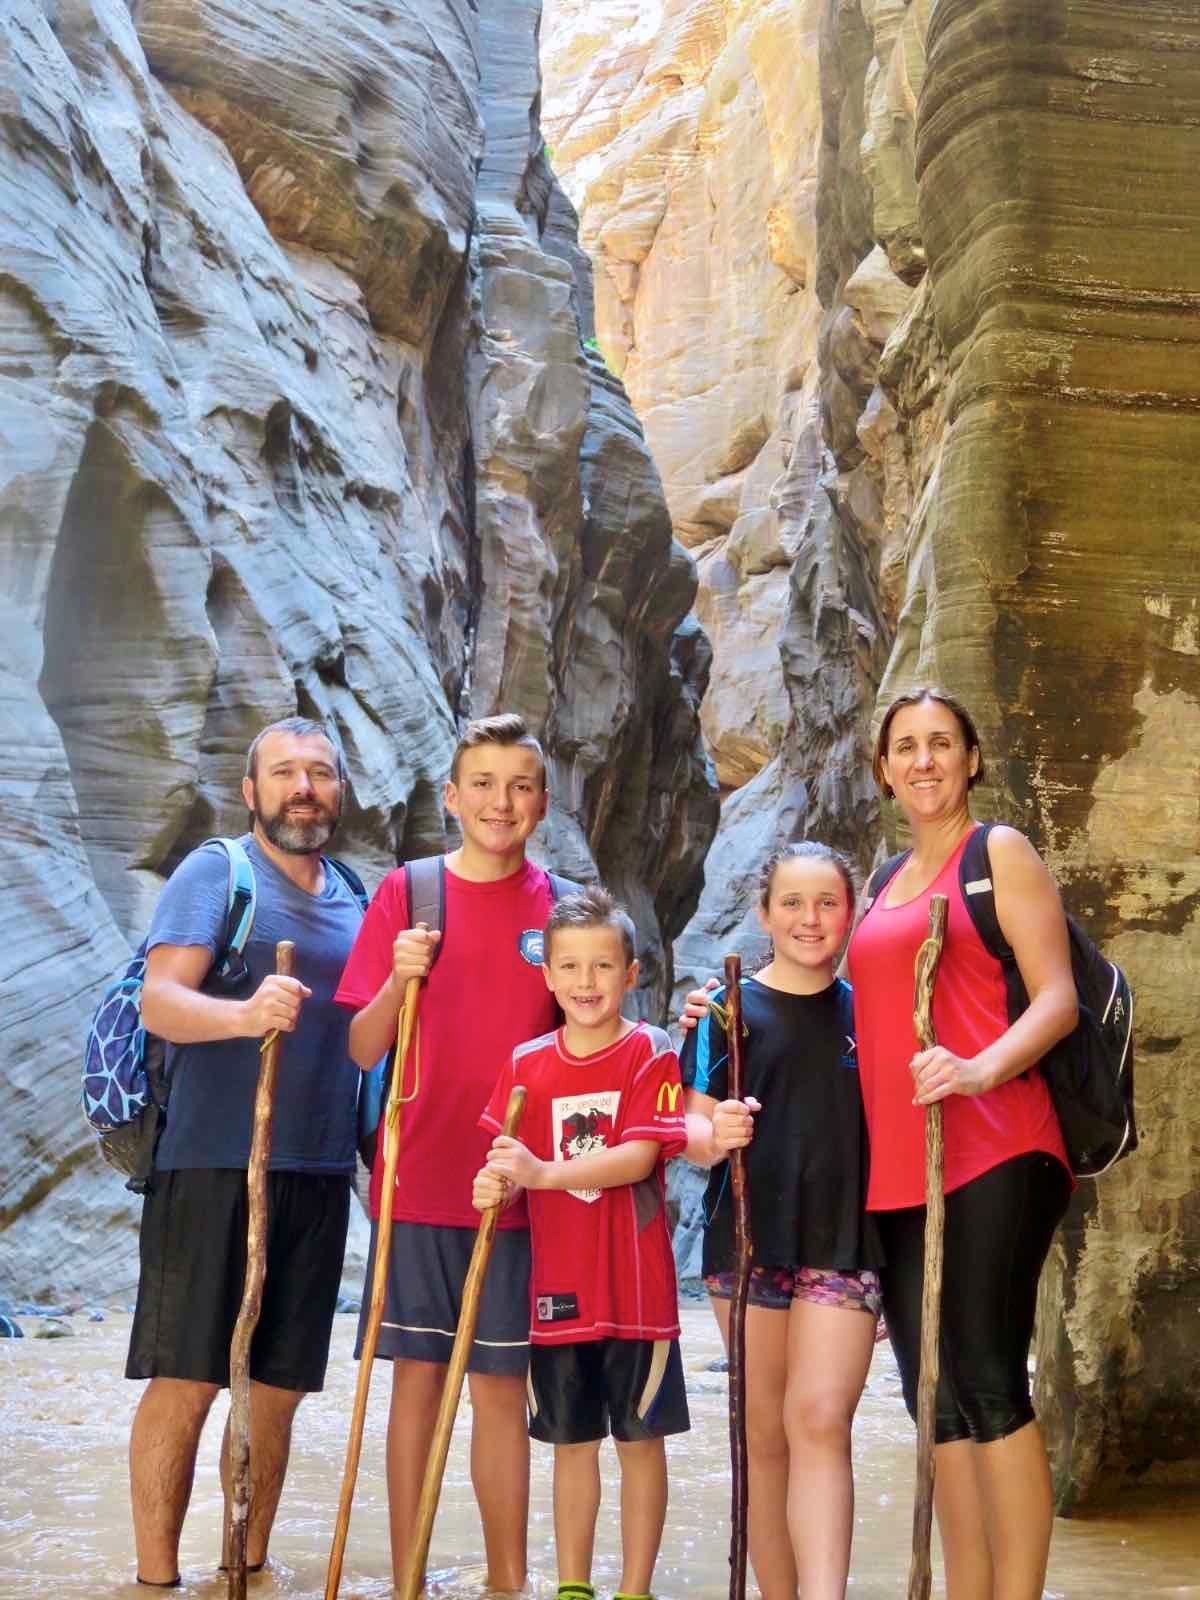
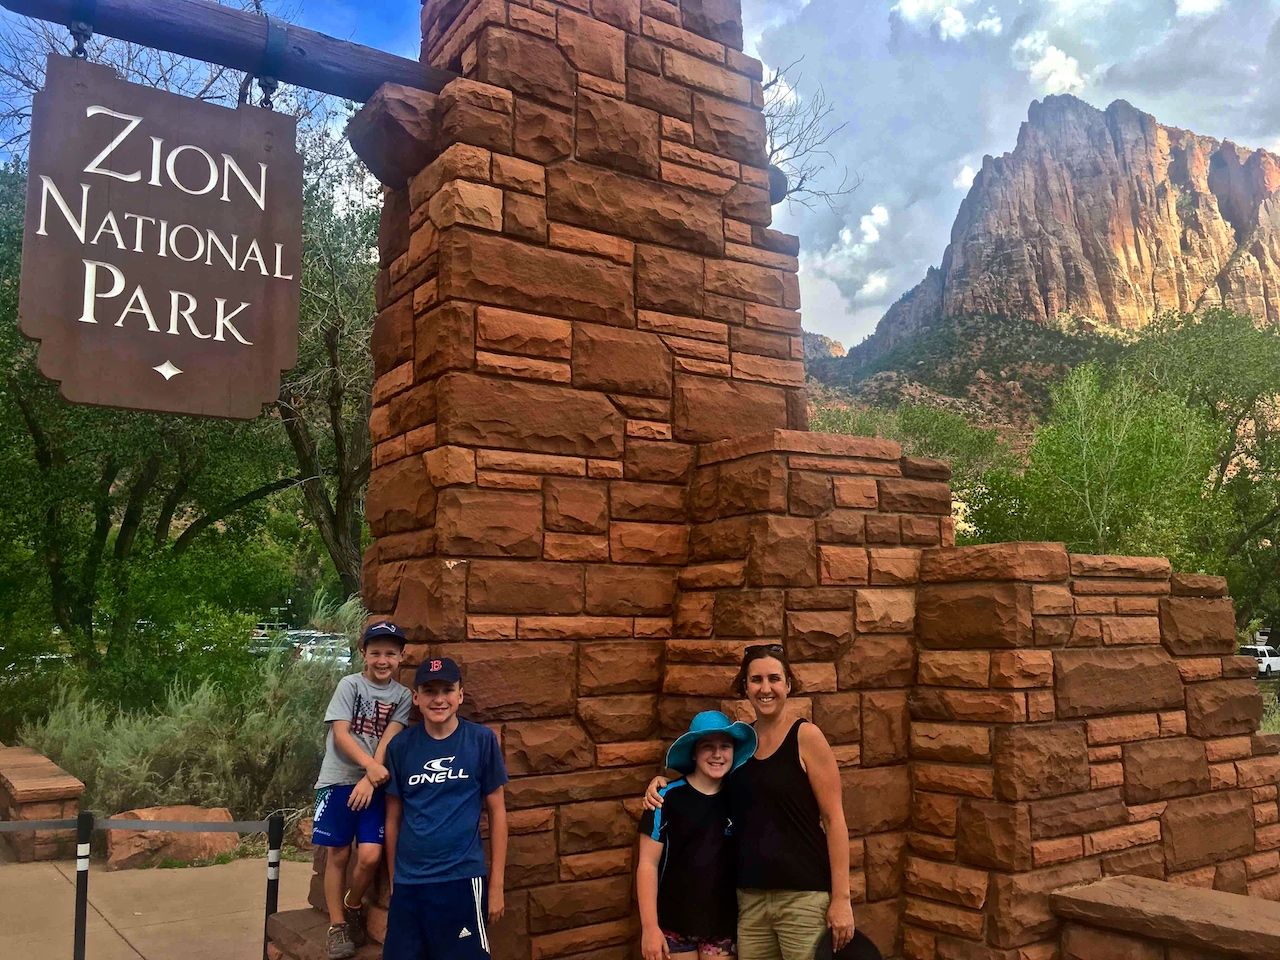
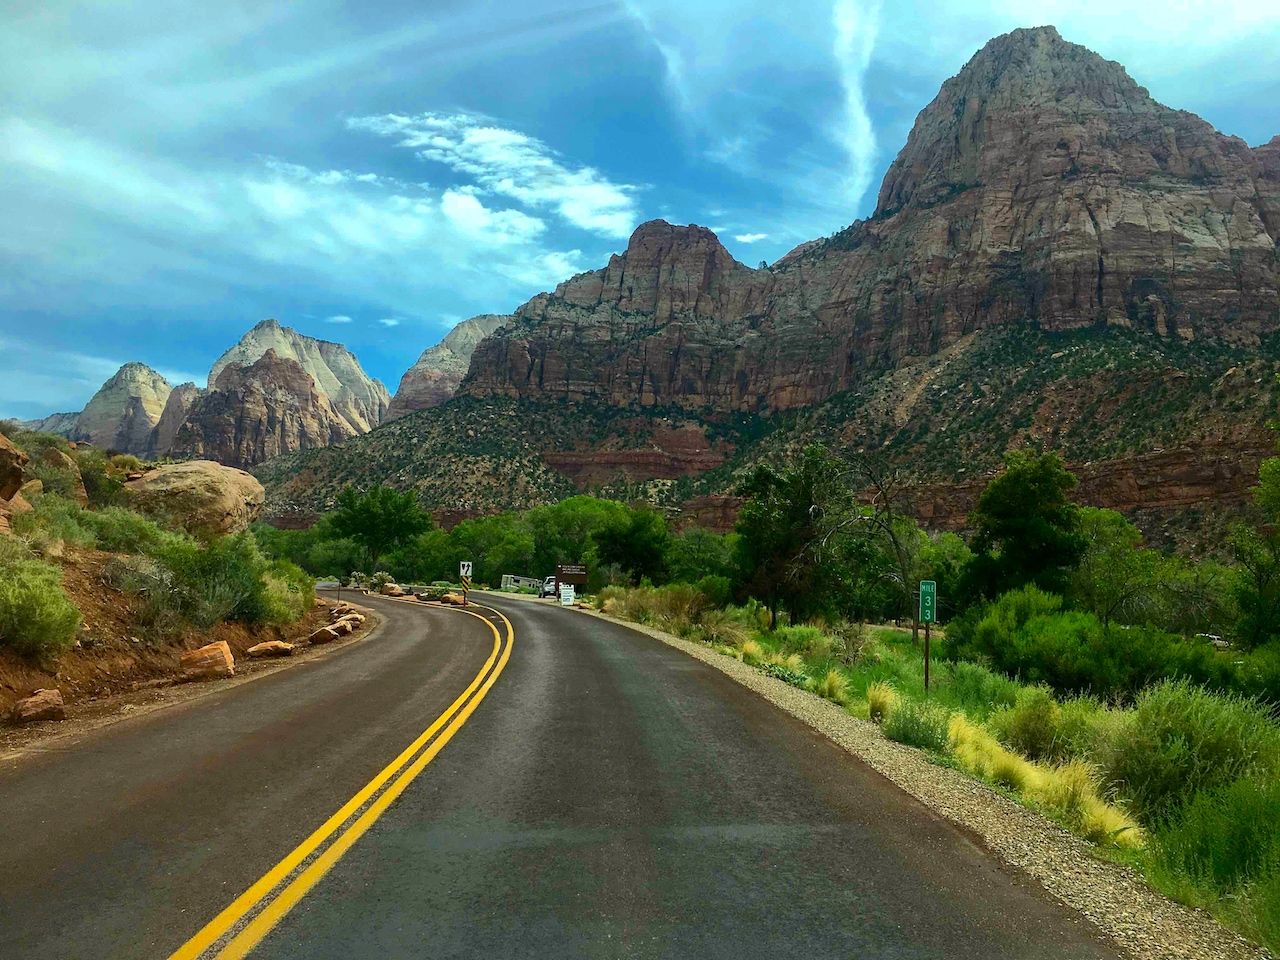
We put together an itinerary that included several national parks in the state of Utah and Arizona. Using Las Vegas as our jumping-off point, we plotted a course to Grand Canyon, Zion, Bryce Canyon and Arches National Park, plus Natural Bridges National Monument. We spent two weeks on the road. In the end, I was satisfied with the time that we were able to spend in each location. We weren’t able to see everything, but we were able to see most of the things on our list.
Pro Tip: Knowing the distances between each location is essential. Normally, you have a limited number of miles per day included in your rental. If you exceed that limit, you incur a cost. We had 100 miles per day with our rental, and even though we covered a lot of ground, we managed to stay under 1400 total miles.
Pro Tip: Need help deciding on which national parks to visit? KidTripster has reviewed all of the ones mentioned above plus dozens of others. Check out the Outdoors section for more information including some size restrictions on RVs at some national parks which could influence your decision on how big of an RV to rent.
2. Consider the season
Think carefully about the season in which you want travel. We didn’t have much of a choice about the timing of our trip, as we were coordinating it with a family reunion. We traveled in July, which is extremely hot in this area of the country. The air conditioner in our RV struggled to keep up while we were driving, and I wouldn’t recommend staying anywhere in Utah (or elsewhere in the south or southwest USA) without electrical hookups during the summer. In contrast, I know a family that did the same trip in April, and they weren’t able to use the on-board toilet and shower because the pipes possibly could have frozen. Of course, the best season to travel depends on location, but you definitely should take weather into account.
Another reason to plan a trip during the off-season (any time outside of June to early September) has to do with campgrounds. You’ll find more availability, and commercial campgrounds typically will discount their prices outside of summer.
But bottom line, if you have to travel during the summer, just go prepared. Look for those campsites with full hookups. Hike in the early morning hours and head to the campground pool in the afternoon.
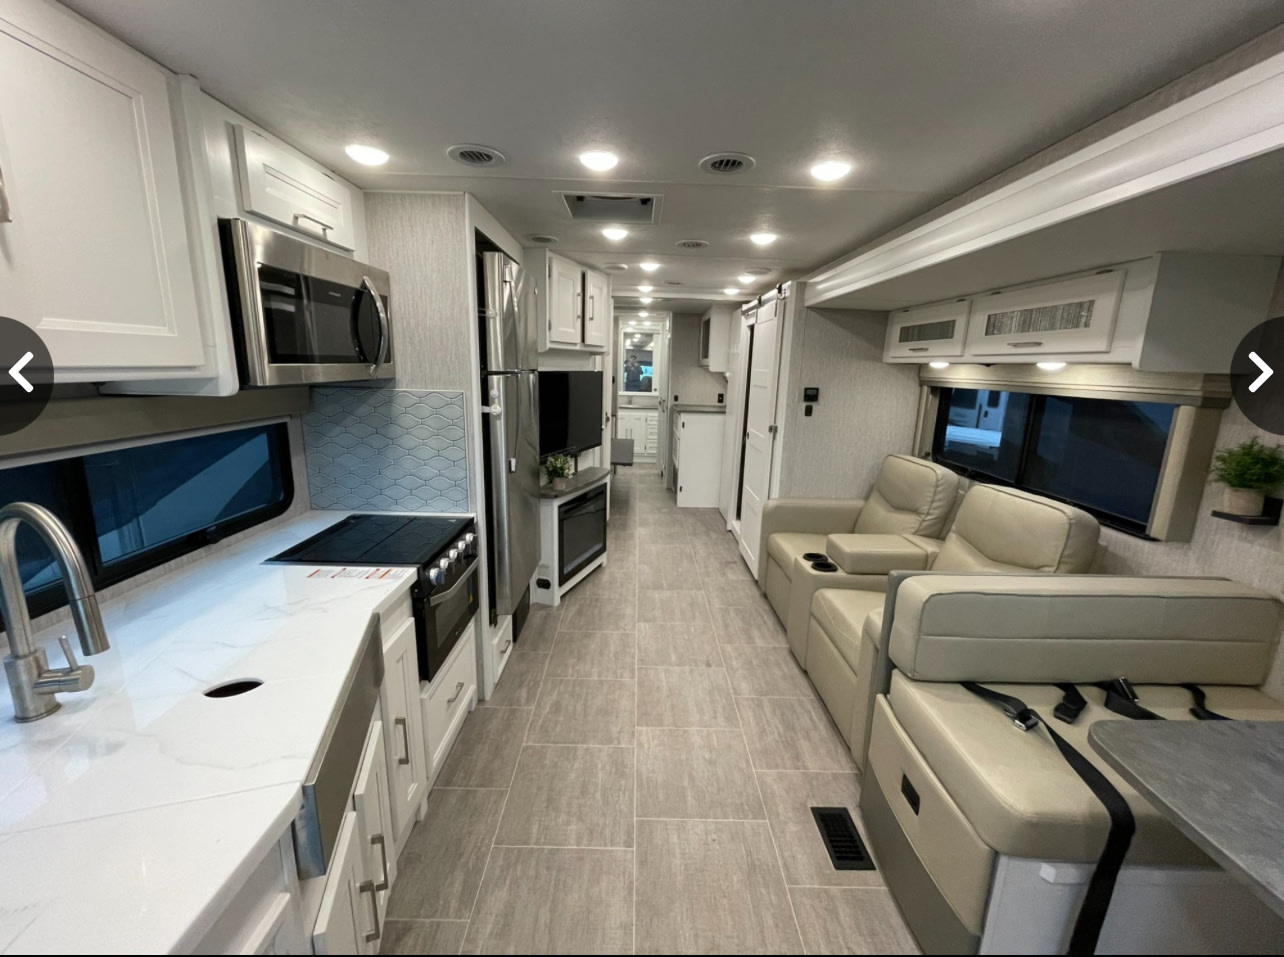
3. Realize that size matters
Next, you need to decide what kind and size of RV to rent. RVs in the USA come in three classes: A, B and C. For an explanation of the differences, click here.
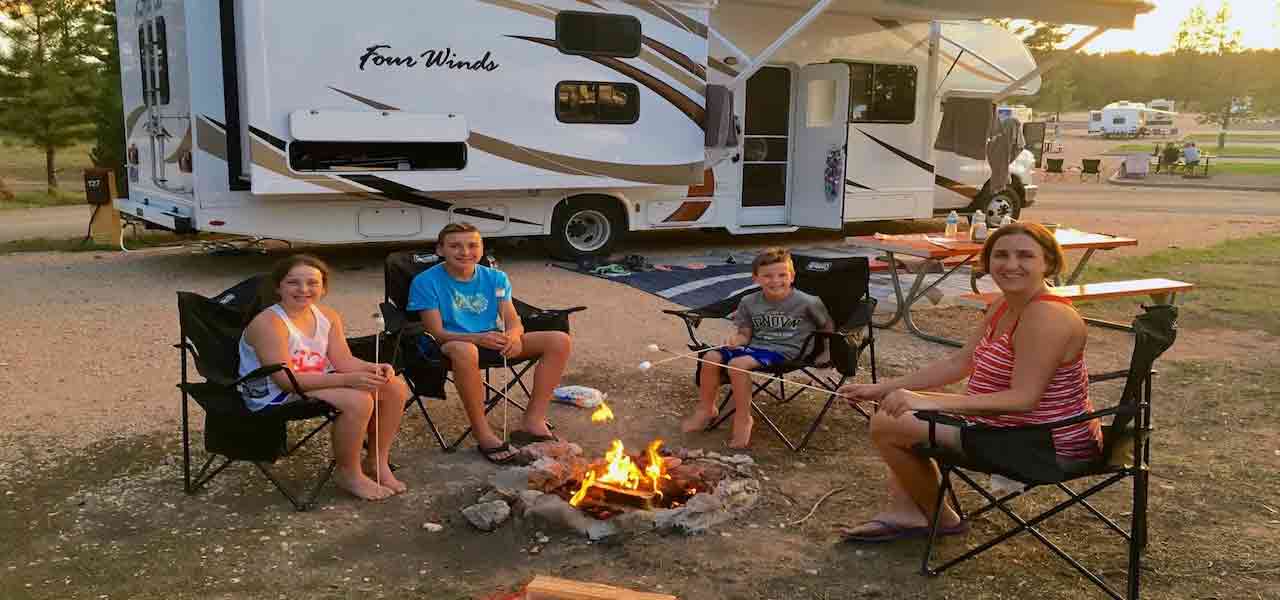
In our case, we decided to rent a 32-foot, Class C RV with two slideouts from Outdoorsy. I was swayed by the fact that Class C RVs drive like pick-up trucks as opposed to Class A RVs that drive more like buses. With five people in our family, we felt like that length would be big enough. Now having spent two weeks in an RV, I can say with certainty that I wouldn’t have wanted to go any smaller.
As veteran RVers will tell you, slideouts are a must! I was skeptical about just how much space they’d actually give us, but I was amazed at the extra room. We had one slideout in the main bedroom and one in the living area. If we booked again, the RV definitely would have slides.
4. Find your perfect RV
Once you know what kind of RV that you’d like to book and your starting point, it’s time to find your perfect rig. I did a lot of research on RV rental companies, but in the end, I decided on Outdoorsy. It was much cheaper than the bigger companies, plus we were able to rent a newer vehicle with more flexible rental dates and drop-off times. In addition, renters are covered by Outdoorsy’s insurance policy which comes in handy if you don’t have American car insurance. We still purchased normal travel insurance, but having additional insurance through Outdoorsy for the RV gave us extra peace of mind.
In addition to mileage, it’s important to look at what’s included in the cost of your RV. As an overseas visitor, I didn’t even bother looking at RVs where you had to bring your own sheets and towels. Logistically, it would’ve been too difficult to arrange. Our rental package included linens plus a grill. Originally, we didn’t think that we’d use the grill, but we actually cooked outside a lot. We paid extra for camping chairs, and they came in handy as a few campsites didn’t have picnic table seating. Just make sure that you know exactly what you’re getting with your rental.
5. Obtain an International Driver’s License
In order to qualify for insurance through Outdoorsy, my husband and I needed to get International Driver’s Licenses. We went through the NRMA (the Australian equivalent of AAA). It was very easy and only cost $35.
6. Book campgrounds early
National Park campgrounds sell out very quickly! If you’re planning on traveling during peak season (June through early September), make sure you book as soon as the reservation window opens, even if it means waking up at 3 a.m. Australian time like I did! For another reservation, I slept in until 5 a.m. and paid the price; all the spots were gone by the time I went online! So make sure that you have a plan B in case you miss out on a national park campground.
Because we were first timers, we paid extra to get pull-through sites (sites that don’t require you to back up your RV) at each campground. I’m here to tell you that it was well worth the extra money! It’s also worth doing some research (either online or by calling the campground) about the best sites to choose. You may not always have the option to choose your site, but if you do and you’ve already done your research, there are some amazing spots to nab—whether those spots have access to a river, have good proximity to a pool, or just have uninterrupted views.
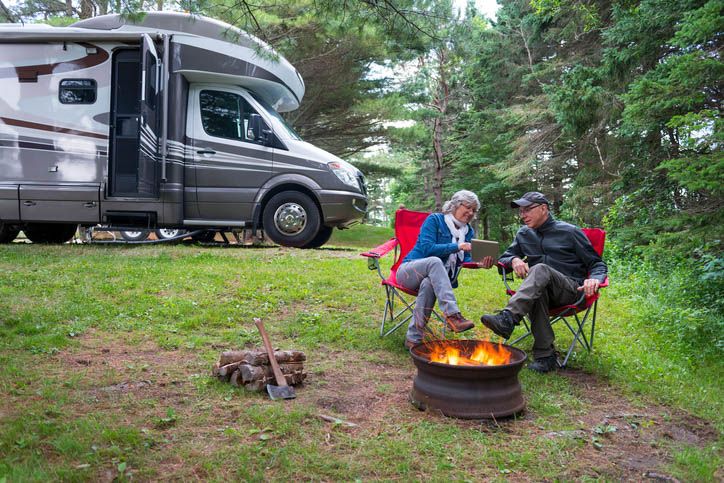
It’s really important to know what services are offered at each campground. Long-time RVers may feel comfortable “dry camping” (camping without access to any services), but as newbies, we wanted electricity, sewer and water, wherever possible. Sometimes, full hookups aren’t available, particularly at national park campgrounds; but when they were, we opted for the works. That may sound like “glamping” to some people, but particularly in the middle of summer, we’ll take the hookups!
Pro Tip: As part of your RV rental, you’ll be given a certain amount of time to run your RV’s generator. If we hadn’t had frequent access to electricity, we would have gone over our limit and incurred extra fees.
7. Consider your WiFi needs
I suggest investing in an U.S. SIM card. WiFi at RV parks is sometimes unreliable, and overseas roaming charges will kill your budget. You can get SIM cards at the airport or at an AT&T or Verizon store in-country. I bought mine on Ebay before I left Australia so that I knew what my phone number would be and could leave it with family.
8. Be prepared to charge
Don’t forget your overseas electrical converter. One travel hack that we use? We bring a powerboard (in the USA, it’s called a power strip) from home, so that we only need one foreign adaptor instead of an adaptor for each phone or device.
9. Buy or borrow a U.S. GPS
A GPS was invaluable to us. I don’t know what we would’ve done without one. Relying on Google Maps on your phone doesn’t work when there’s no cell reception which is fairly common in many remote areas. Besides, it will chew up a lot of data. Ask the person whom you’re renting from if he or she has one that you can borrow.
10. Study up
I’m a history teacher by occupation, so my kids know that when we go on vacation, they’ll be getting a mini history lesson. I suggest that you spend a bit of time learning the history of the locations where you’ll be visiting to better appreciate the experience. Prior to our trip to the national parks in Utah, we watched The West, a documentary by Ken Burns. It was a great introduction to the region’s history.
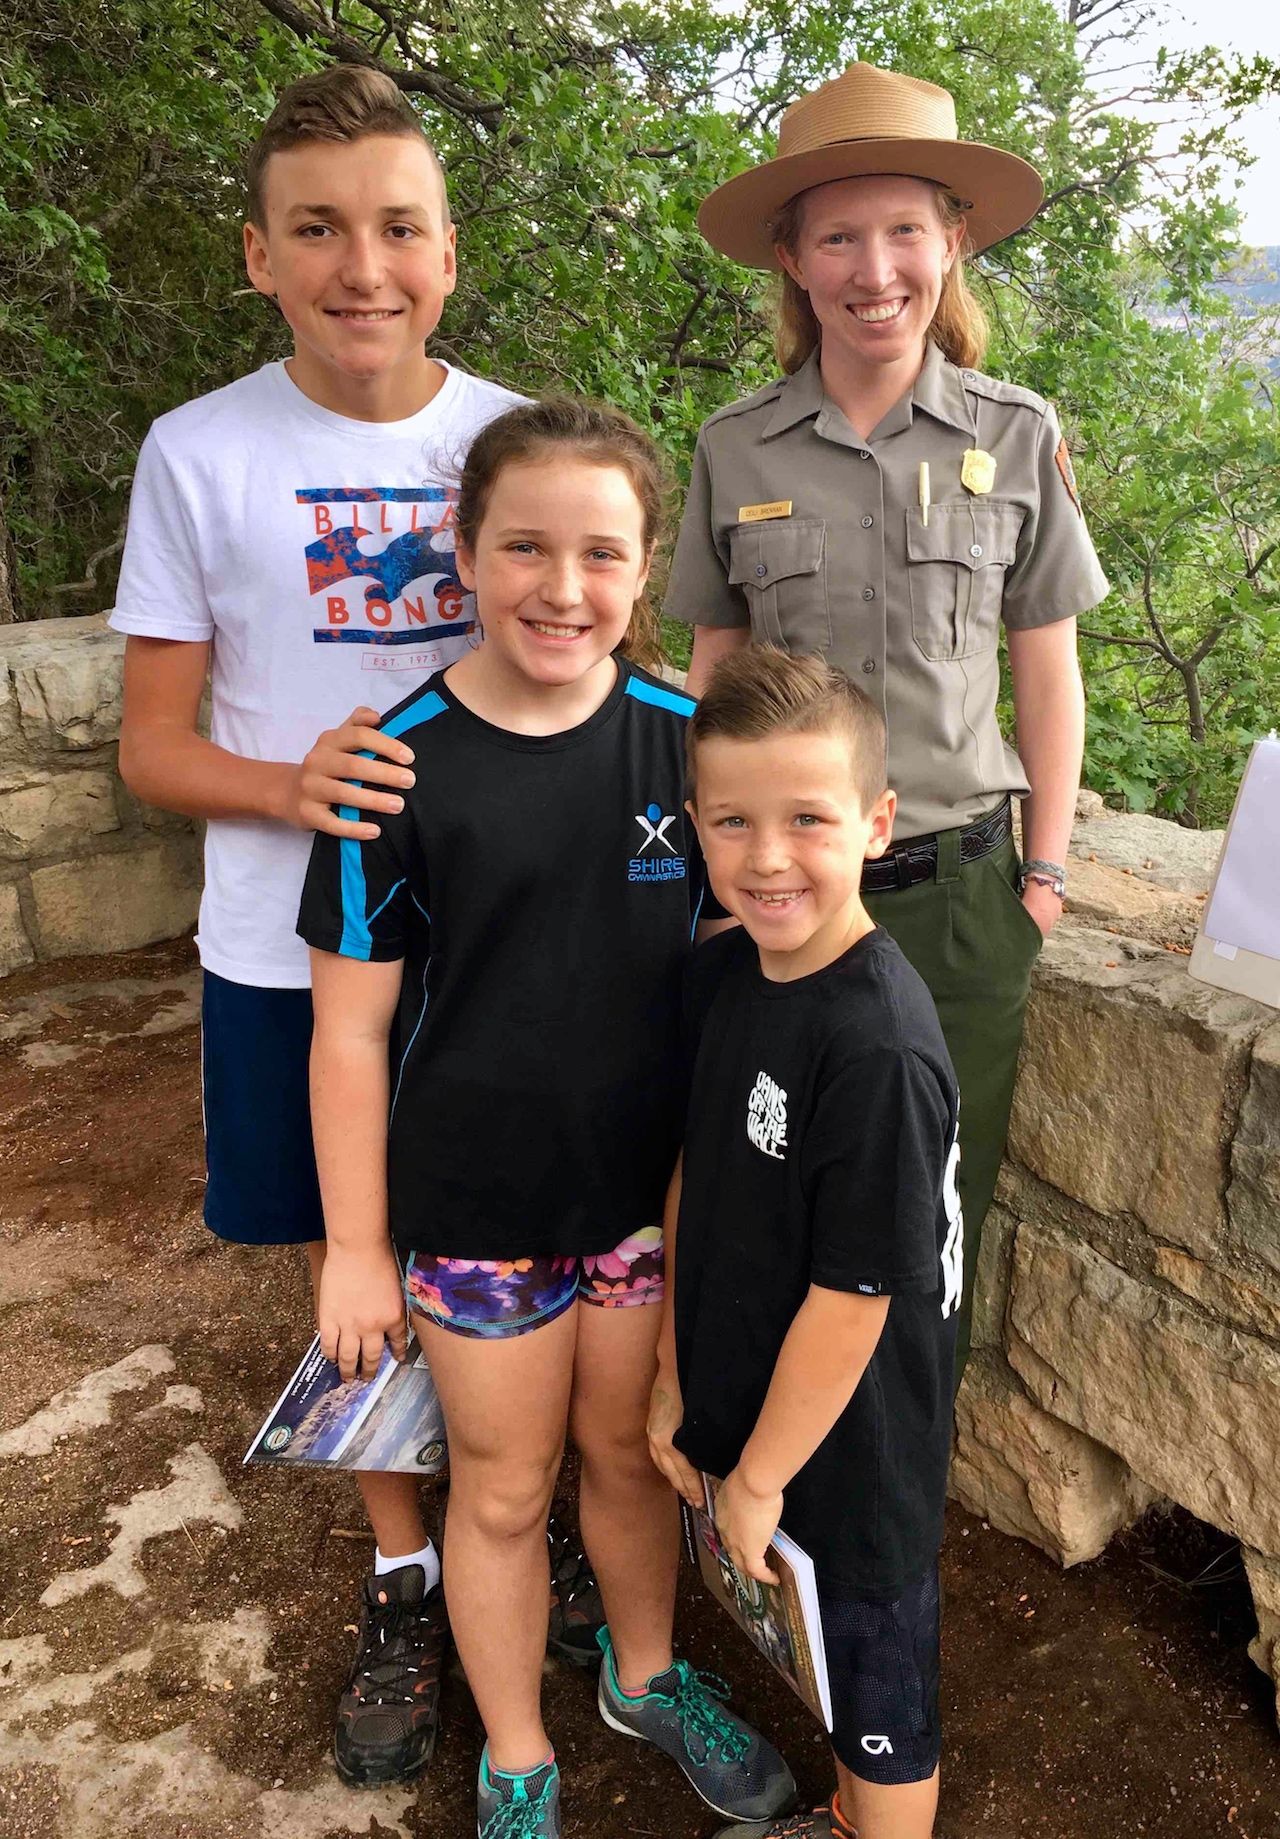
And when you visit a national park with your kids, make sure to pick up your Junior Ranger book at the visitor center. If you’re traveling without kids, still attend a ranger program or watch the park movie when you arrive. National park visits are much richer when you have an understanding of what it is you’re seeing and why it’s important enough to protect.
11. Take stock
Before you do a big grocery run, check what provisions are already in the RV. This advice doesn’t apply to RVs rented from big companies, but if you rent from a private owner, you’ll often find supplies left from previous renters like shampoo, soap, fire starters, matches, bug spray, sunscreen, and laundry detergent. If laundry detergent isn’t already in the RV, I highly recommend buying detergent pods (as opposed to liquid or powder) for the convenience and cost savings. Buying laundry detergent at the campground laundromat is $3 to $5 a pop, so it’s much cheaper to bring your own.
12. Grocery shop strategically
Refrigerators in RVs tend to be smaller than what you’re used to at home, so make sure not to overbuy. We tried to grill outdoors as much as possible because it was too hot to cook inside the RV; however there was a fire ban in Moab, so we had to unexpectedly change our plans. My advice: stock up on groceries in big towns where you can, as you’ll pay a premium in touristy areas.
13. Stick to the right
It may go without saying, but make sure you stick to the right when driving! I live in Australia where we drive on the left. I had to continually remind myself that the driver always needs to be in the middle of the road. If you’re driving and are suddenly next to the curb, you’re on the wrong side of the road! It happens.
14. Consider renting a car in tight spots
Consider renting a car, if necessary. We rented a car for a few days in Moab and Arches National Park. While the area is completely doable by RV, we felt more comfortable behind the wheel of something smaller.
15. Take your time
Driving in an RV is like driving a snail; you’re trying to move with your house on your back. Don’t be in a rush. And know that if the GPS says it’ll take you five hours to get from point A to point B, plan on closer to seven.
Pro Tip: RVs are top-heavy, so take it easy going around curves. Slow and steady—that should be your mantra.
Pro Tip: Gas is expensive! That’s one thing that we probably didn’t factor into our calculations. RVs are very thirsty, and each fill up was at least $100. Also, if you’re doing a lot of driving, familiarize yourself with the route before you leave. There may be a long stretch without a gas station when you desperately need one!
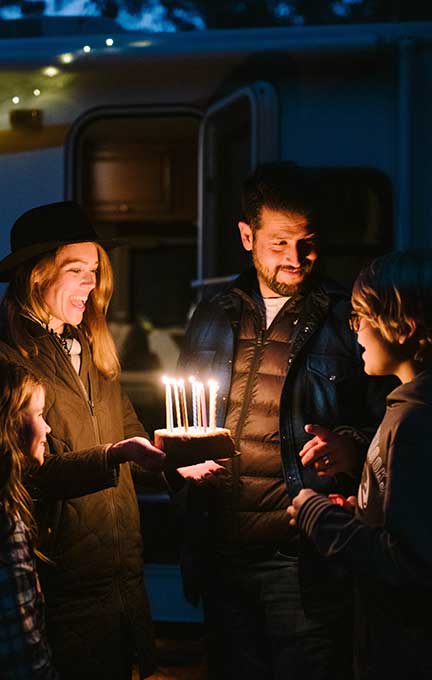
16. Say hello to your neighbors
Don’t be afraid to introduce yourselves to your neighbors at RV campgrounds. We were surprised to meet so many overseas visitors, and it was interesting to find out where they were from and where they were traveling in America. And Americans are friendly, too. They’re a great source of tips and information.