
Whether you’re on the road, pitching a tent, or hitting the trails, granola bars are the perfect snack to keep you moving and grooving! This homemade granola bar recipe is simple yet decadent. And the best part? No baking necessary!
Ingredients
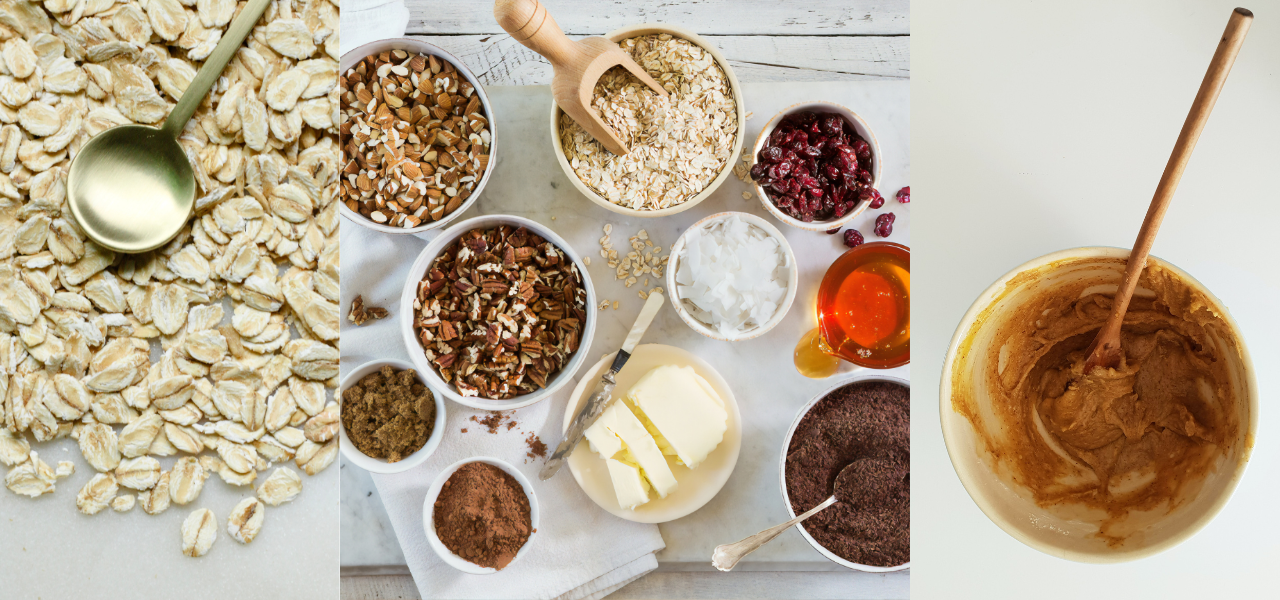
For this granola bar recipe, all you need is:
- 1 cup of creamy or natural nut butter
- 2 1/2 cups whole rolled oats
- 2/3 cup of honey
- 1 teaspoon of vanilla extract
- 1/2 teaspoon of sea salt
- as many mixins as your heart desires
Really make these granola bars your own with your favorite mixins!
Some popular combinations are:
- peanuts & chocolate chips
- almonds & shredded coconut
- dried cranberries, pecans, & pepitas
- cashews & cacao nibs
Instructions
Step One: Mix the Wet Ingredients
Mix the nut butter of your choice, honey, vanilla extract, and salt. Keep mixing until your honey or maple syrup is fully incorporated.
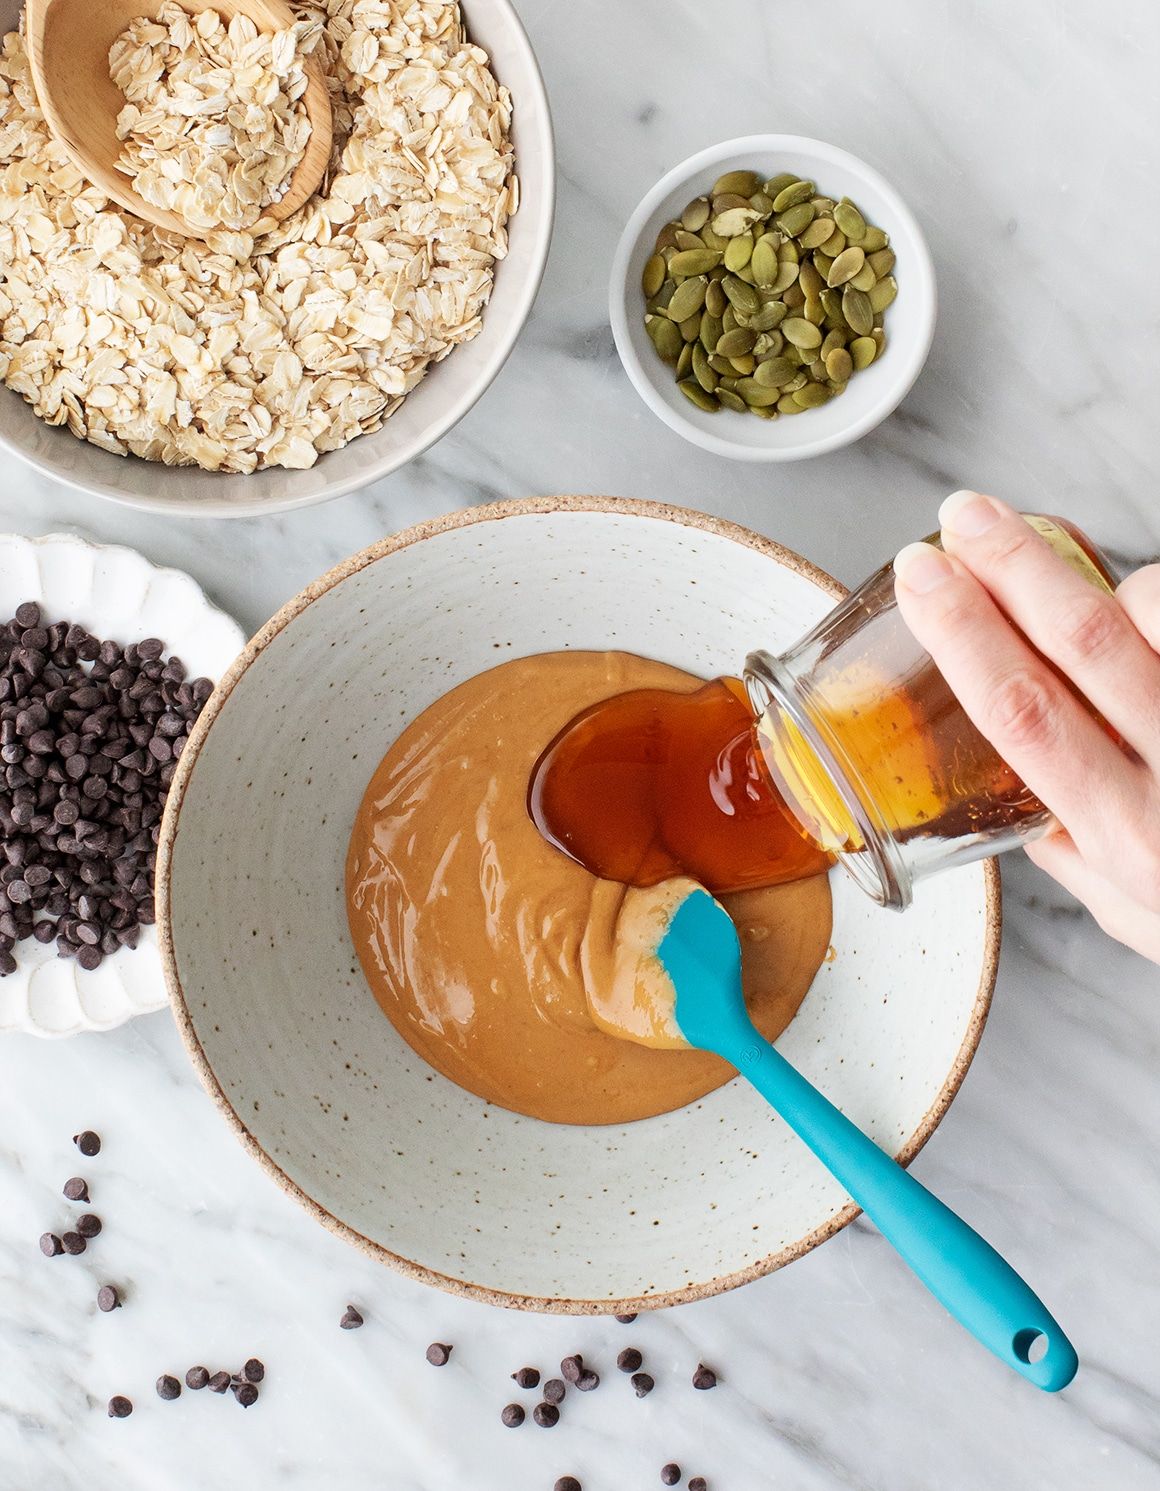
For those with nut allergies, don’t fret! Sunflower seed butter is a great alternative. And for our vegan adventurers, substitute maple syrup or brown rice syrup instead of honey!
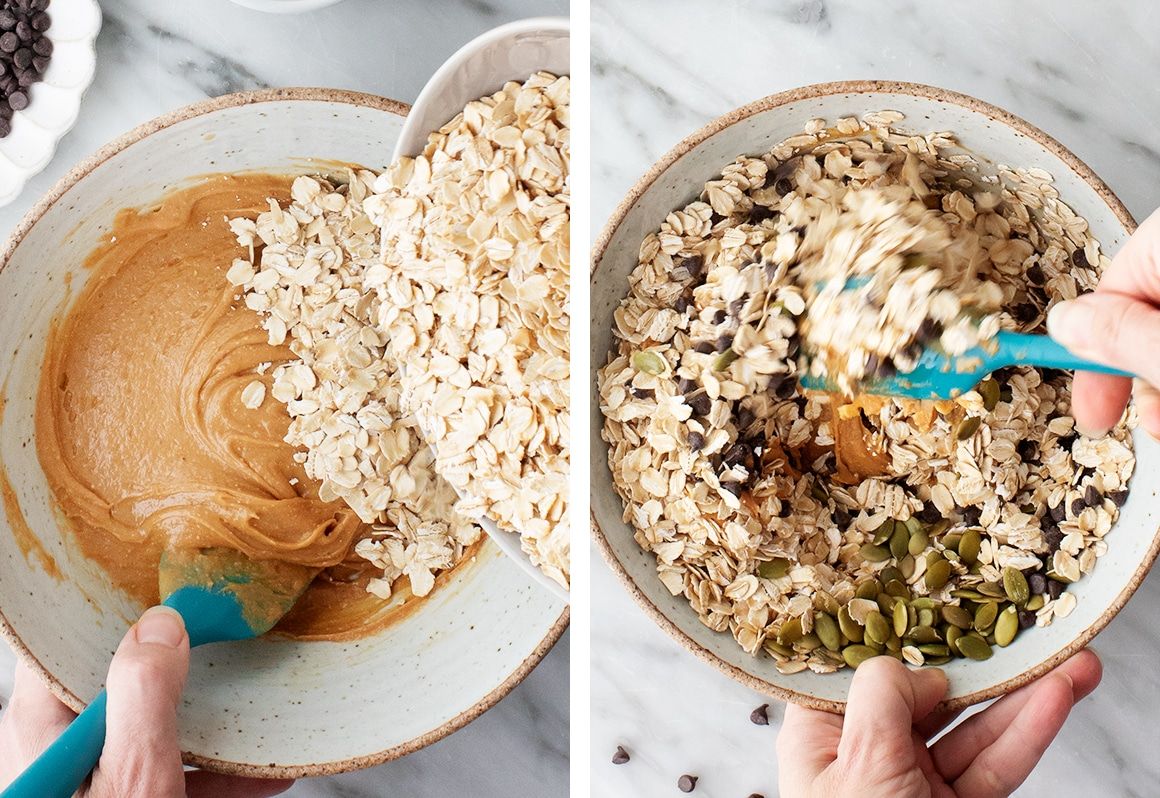
Step Two: Fold in the Dry Ingredients
Add oats and mixins of your choice! Stir until everything is evenly mixed.
Step Three: Prepare Your Pan
That was easy! Now, simply line a pan with parchment paper.

Scoop your mixture onto the pan and cover it with another piece of parchment paper. Use your hand to spread the mixture to the corners of the pan. Flatten it down with your hands or, better yet, with the flat part of your measuring cup!
Step Four: Let the Mixture Chill
Place your pan in the fridge and allow the bars to chill for at least an hour. Sit back and relax!
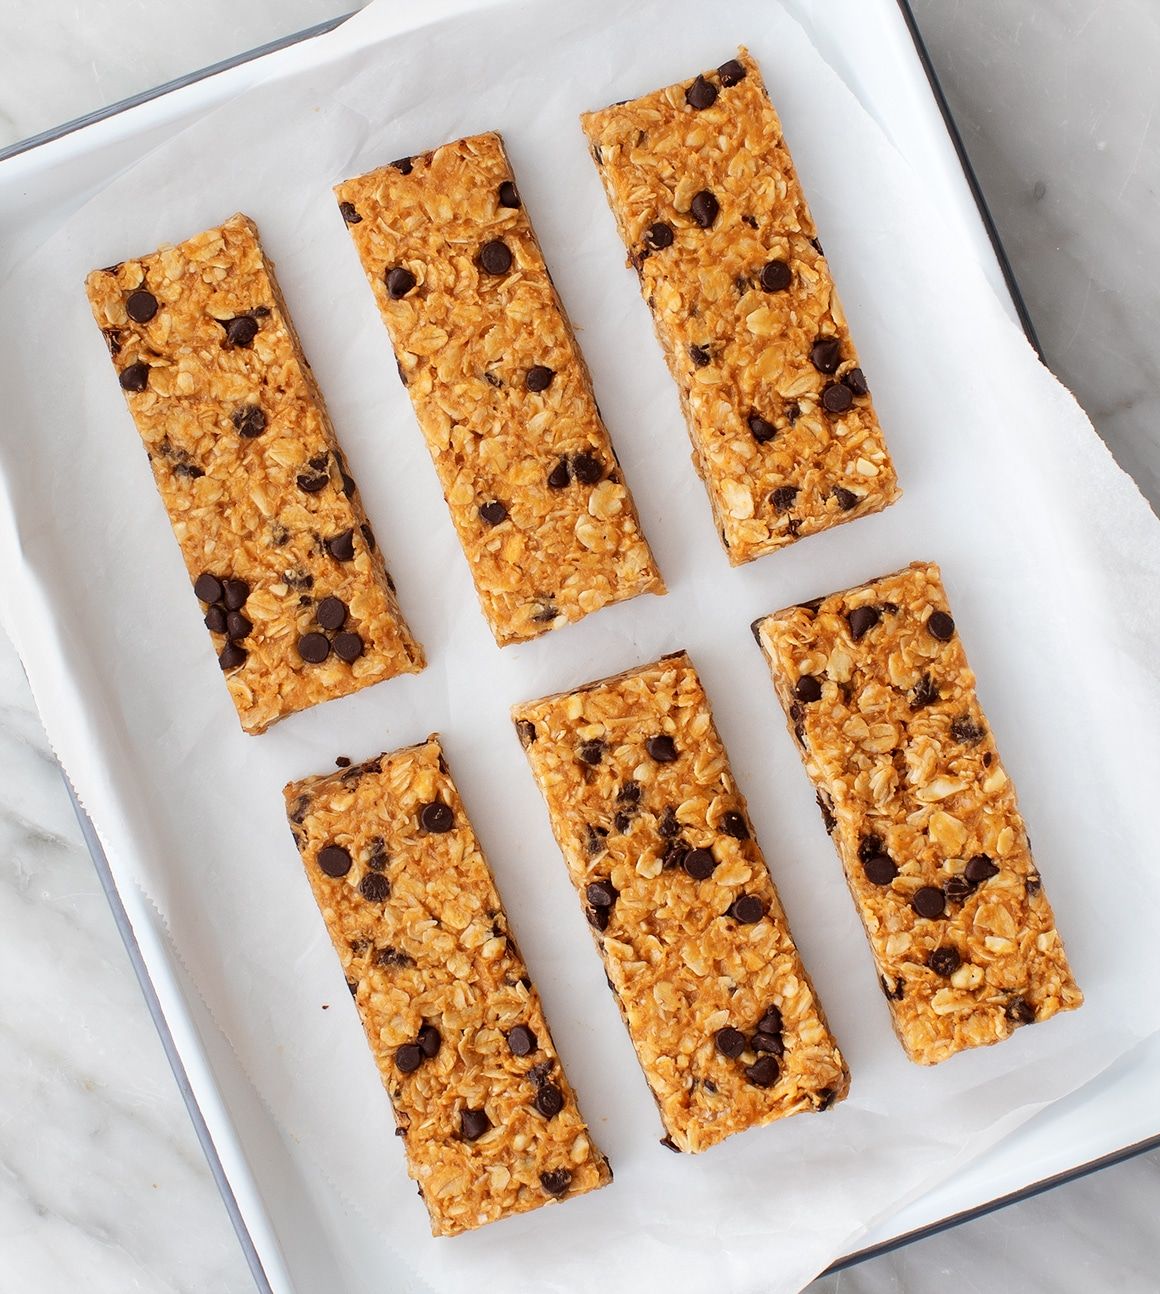
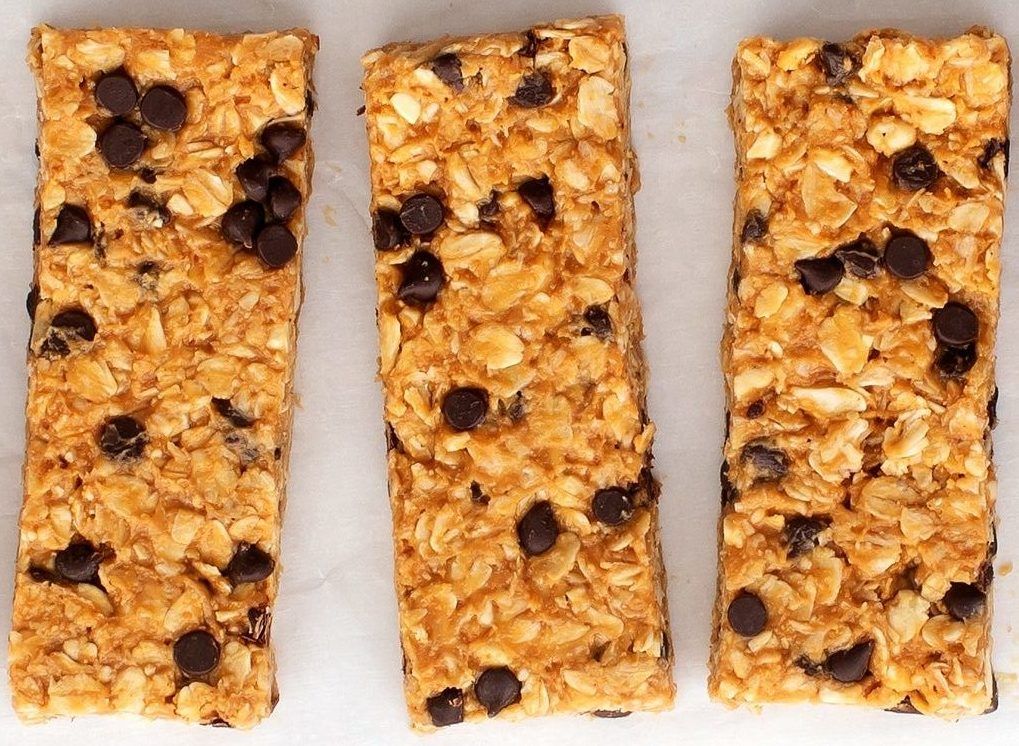
Step five: Slice and Serve
Slice your creation into bars or bites!
Want to save some for later? Transfer your granola bars into an airtight container and pop them in the fridge or freezer. They’ll last up to a week in the fridge or 2 months in the freezer!
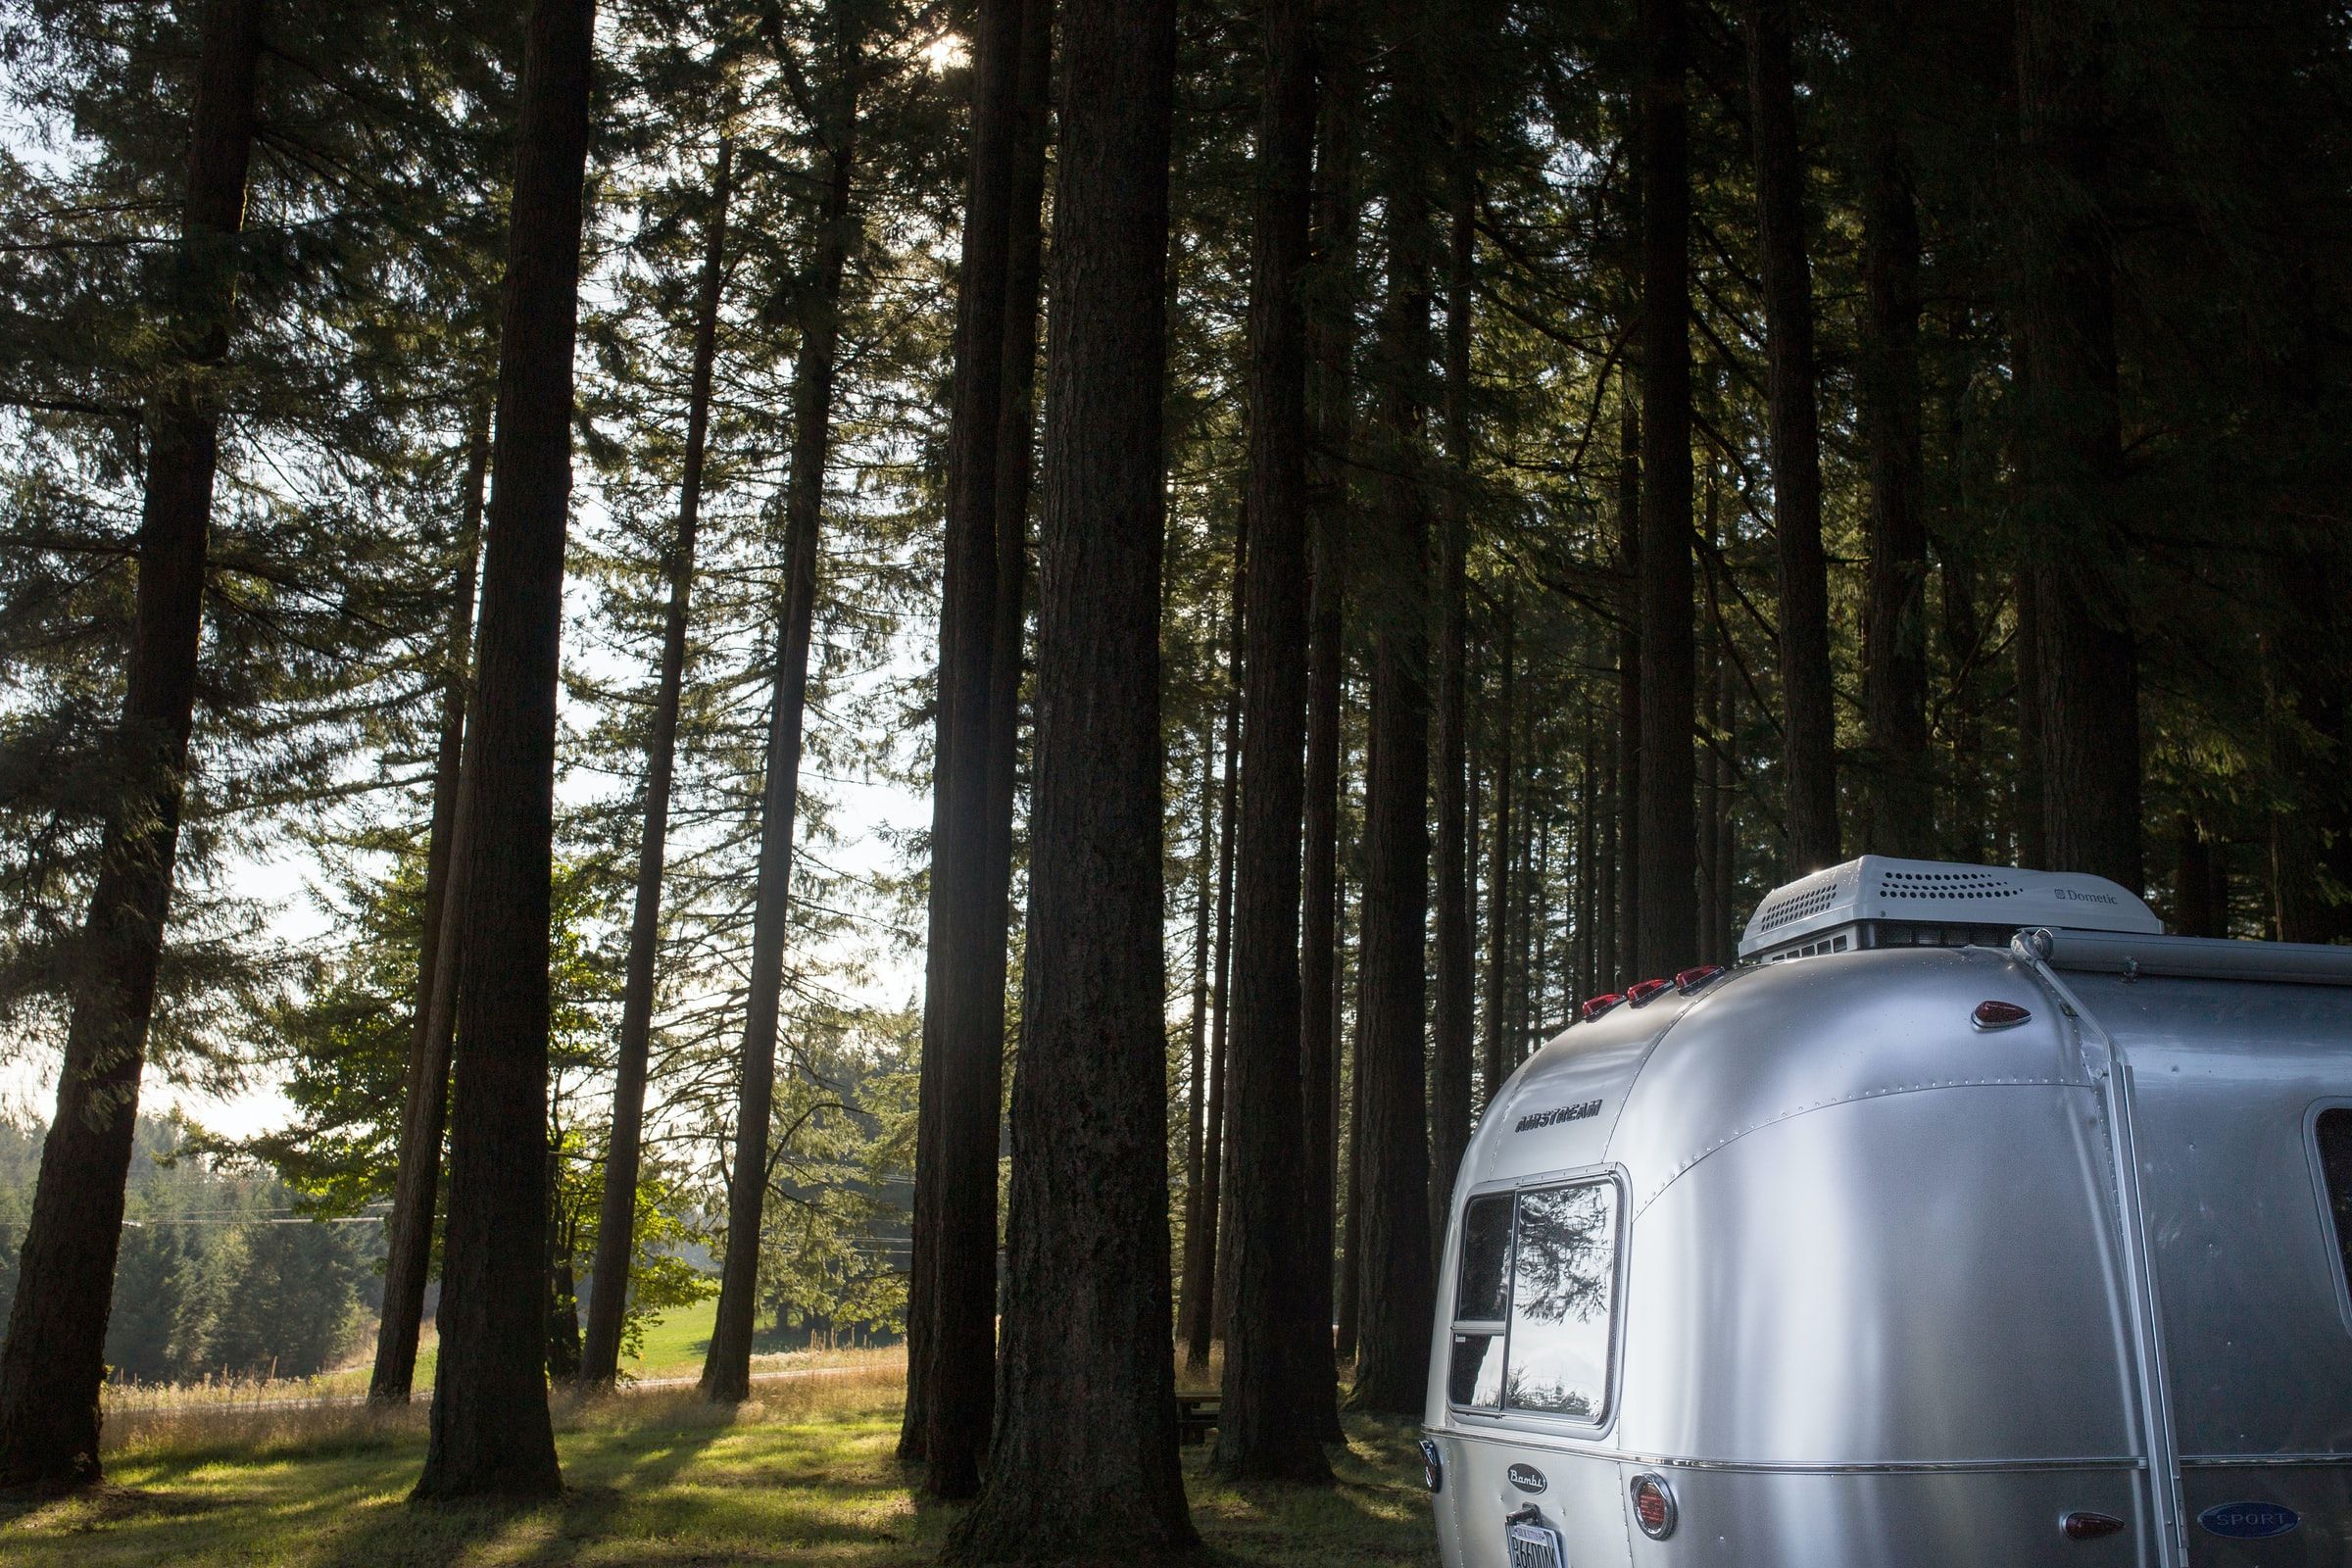
Hungry on the Road?
Hit the road with a healthy snack in hand! These DIY granola bars are easy to make at home or in your rental RV, and they’re good on the go! Take them camping, hiking, road-tripping, or even on your way to a big meeting. Wherever you’re going, they’ll help get you there!
Recipe from: loveandlemons.com