


Having a toilet with you wherever you go is one of the biggest perks of RV camping, but also leads to one of the most dreaded aspects of RV ownership: maintaining the black water tank. It’s definitely not glamorous, but dealing with an RV black water tank doesn’t have to be messy. In this article, we’ll break down the basics like:
- What does an RV black water tank do?
- How do you dump an RV black water tank?
- How do you clean an RV black water tank?
Let’s dive in!
What does an RV black water tank do?
Three tanks compose a complete septic system in an RV: the freshwater tank, grey water tank, and black water tank.
As the name suggests, a freshwater tank holds all of your RV’s freshwater if you aren’t connected to a water hook-up. The water held here will come out of your faucets, shower, and toilet when you flush. The grey water tank collects dirty water that goes down your sink and shower drains. The black water tank holds the waste from your toilet. Some RVs do not have grey water tanks and instead dump everything into the black water tank.
Black water tanks are usually composed of one of two materials: low-density polyethylene (LDPE) or acrylonitrile butadiene styrene (ABS). These can come in a number of different sizes, but as a general rule of thumb, the bigger the RV, the bigger the holding tank; however, the average black water tank has a 35-gallon capacity. Some rigs come with sensor systems that can tell you how full the tank is, taking out the guesswork.
RVers, especially new ones, are often intimidated by the black water tank. After all, improper use and failure to perform regular maintenance can result in a big mess.
How do you dump an RV black water tank?
Dumping an RV black water tank may conjure up some images of sewage mishaps from comedies like Christmas Vacation or RV. But the process of dumping is pretty simple and will start to become second nature once you get the hang of it.
First, you’ll need to find an appropriate dump site. Of course, you don’t want to pull a Cousin Eddie and just dump it down a street drain. Most campsites have an RV dump site or a sewage connection. Once you find the place to dump, be sure to pull up close enough so that all hoses reach the dump. The RV black water tank should be at least two-thirds full when you dump. Larger volumes create greater pressure when draining, helping to push everything out.
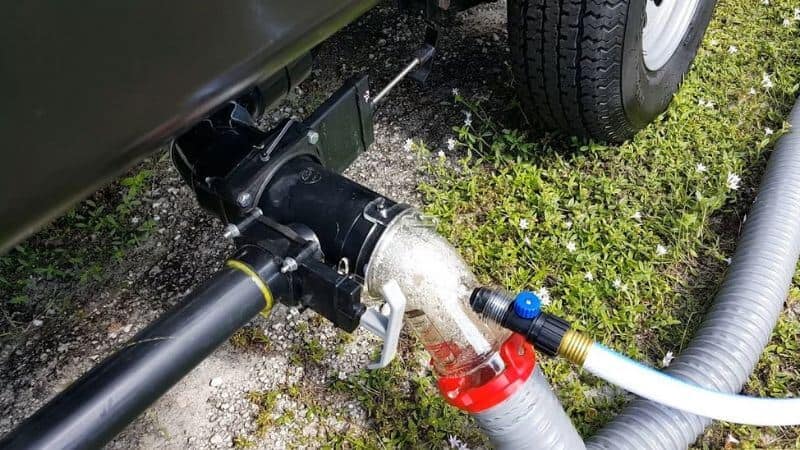
- Install the drain hose and ensure that everything is secure. The last thing you want is for a hose to bust loose.
- Secure the end of the hose in the drain. Sometimes you’ll need to keep a foot or brick on the drain end to keep it in place.
- Open the black water tank gate valve. You’ll be draining the black water tank before the gray water tank. Emptying gray water after allows the water to wash away the sewage in the hose.
- Flush the black water tank with freshwater or grey water. Make sure to let all of the water from the flush drain.
- Repeat these steps for the grey water tank.
- Disconnect hoses and close all valves. You may also want to rinse the inside of the hose with freshwater before disconnecting from the dump station.
See, nothing too difficult is involved! Flushing your black water tank with water every time you dump isn’t absolutely necessary, but it’s a great habit to get into. It will prevent clogs and will prevent debris from collecting on capacity sensors.
How do you clean an RV black water tank?
Keeping your tank clean is key to preventing messy disasters.
The first way to do this is with a liquid or powder chemical that breaks down solid waste and helps keep everything from stinking up your RV. These are also easy to use as you simply flush the chemical down the toilet. There will be instructions on the label that will guide you in how much you should add.
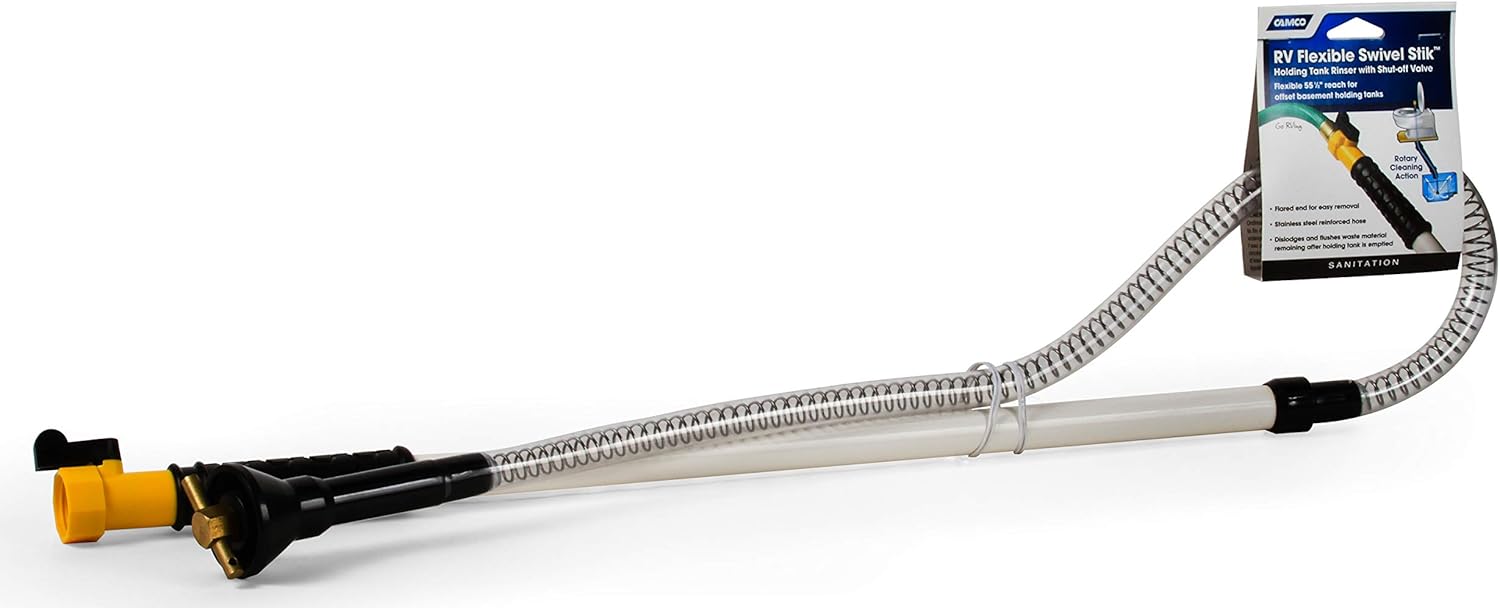
The second way to keep your RV black water tank clean is by flushing it every time you dump it. There are several different ways to do this if your RV doesn’t have a built-in system, including a wand that reaches the tank via the toilet and a special flush valve.
Keeping Your Tank Healthy and Clog-Free
Though your RVs septic system seems to operate much like a toilet you’d find in a house, they shouldn’t be treated the same.
- Use the right toilet paper: Be sure to purchase toilet paper that is RV or septic-safe. This paper will break down, allowing you to flush the tank without clogs.
- Watch what you flush: Aside from the wrong types of toilet paper, don’t flush anything else that can cause a clog like paper towels, wet wipes, feminine hygiene products
- Keep separate hoses: Never use a drinking water hose for your black or grey tank maintenance or cleaning purposes.
- Close the valve when you’re not dumping. If you have a dump site within hose reach of your campsite, you may be tempted to just run the hose and keep the valve open. This however is a big no-no. It can result in massive clogs and vent the city’s sewer or park’s septic tank gasses back into your RV.
Just by following these four simple tips, you can prevent the majority of septic related issues.
Conclusion
Though it may not be the most glamorous aspect of camping in an RV, dumping and taking care of your black water tank is a necessary one. As long as you put in the effort to properly dump, clean, and maintain your RV black water tank, it should serve you well and without problems.