Creating an RV guide or manual to help your renters understand how to use your RV is a wonderful idea that many Outdoorsy owners have put into practice.
Digital versions of these guides can be sent before the rental period in order to help the renter feel more comfortable going in and save time during the walkthrough process. They can also be printed out and used during the walkthrough to ensure a thorough tour and then left in the RV to give renters a point of reference in case they have questions during their trip.
Below, we have included step-by-step instructions for making a useful manual of your own.

Step 1: Do a walkthrough yourself
First, you will need to do a walkthrough of your rig. Carry pen and paper, and take note of everything you want to cover in your guide. Talking out loud is often helpful during this initial walkthrough.
Bringing a friend or family member along can also be enlightening, as it helps you see what might be confusing to RV newbies. Encourage your helper to ask questions, and use these to decide what to include in your manual.
Step 2: Create a table of contents
Next, you’ll need to break things down and create an easy-to-follow table of contents for your manual.
Here’s a basic idea of what you should include in your table of contents:
Rental resources
- In case of an accident — insurance claims and roadside assistance process, and Outdoorsy support number.
- The names, addresses, and phone numbers of nearby gas stations, RV mechanics, and grocery stores.
Operating the RV
- Instructions for setting up camp.
- Setting up water hookups.
- Handling black and gray water.
- Operating air conditioning and heating.
- Using kitchen appliances.
- Detailed instructions for awning operation.
- How to set up the bed and restoring it.
Driving the RV
- Include a checklist for things to remember before moving the RV.
- Clearance height of your RV.
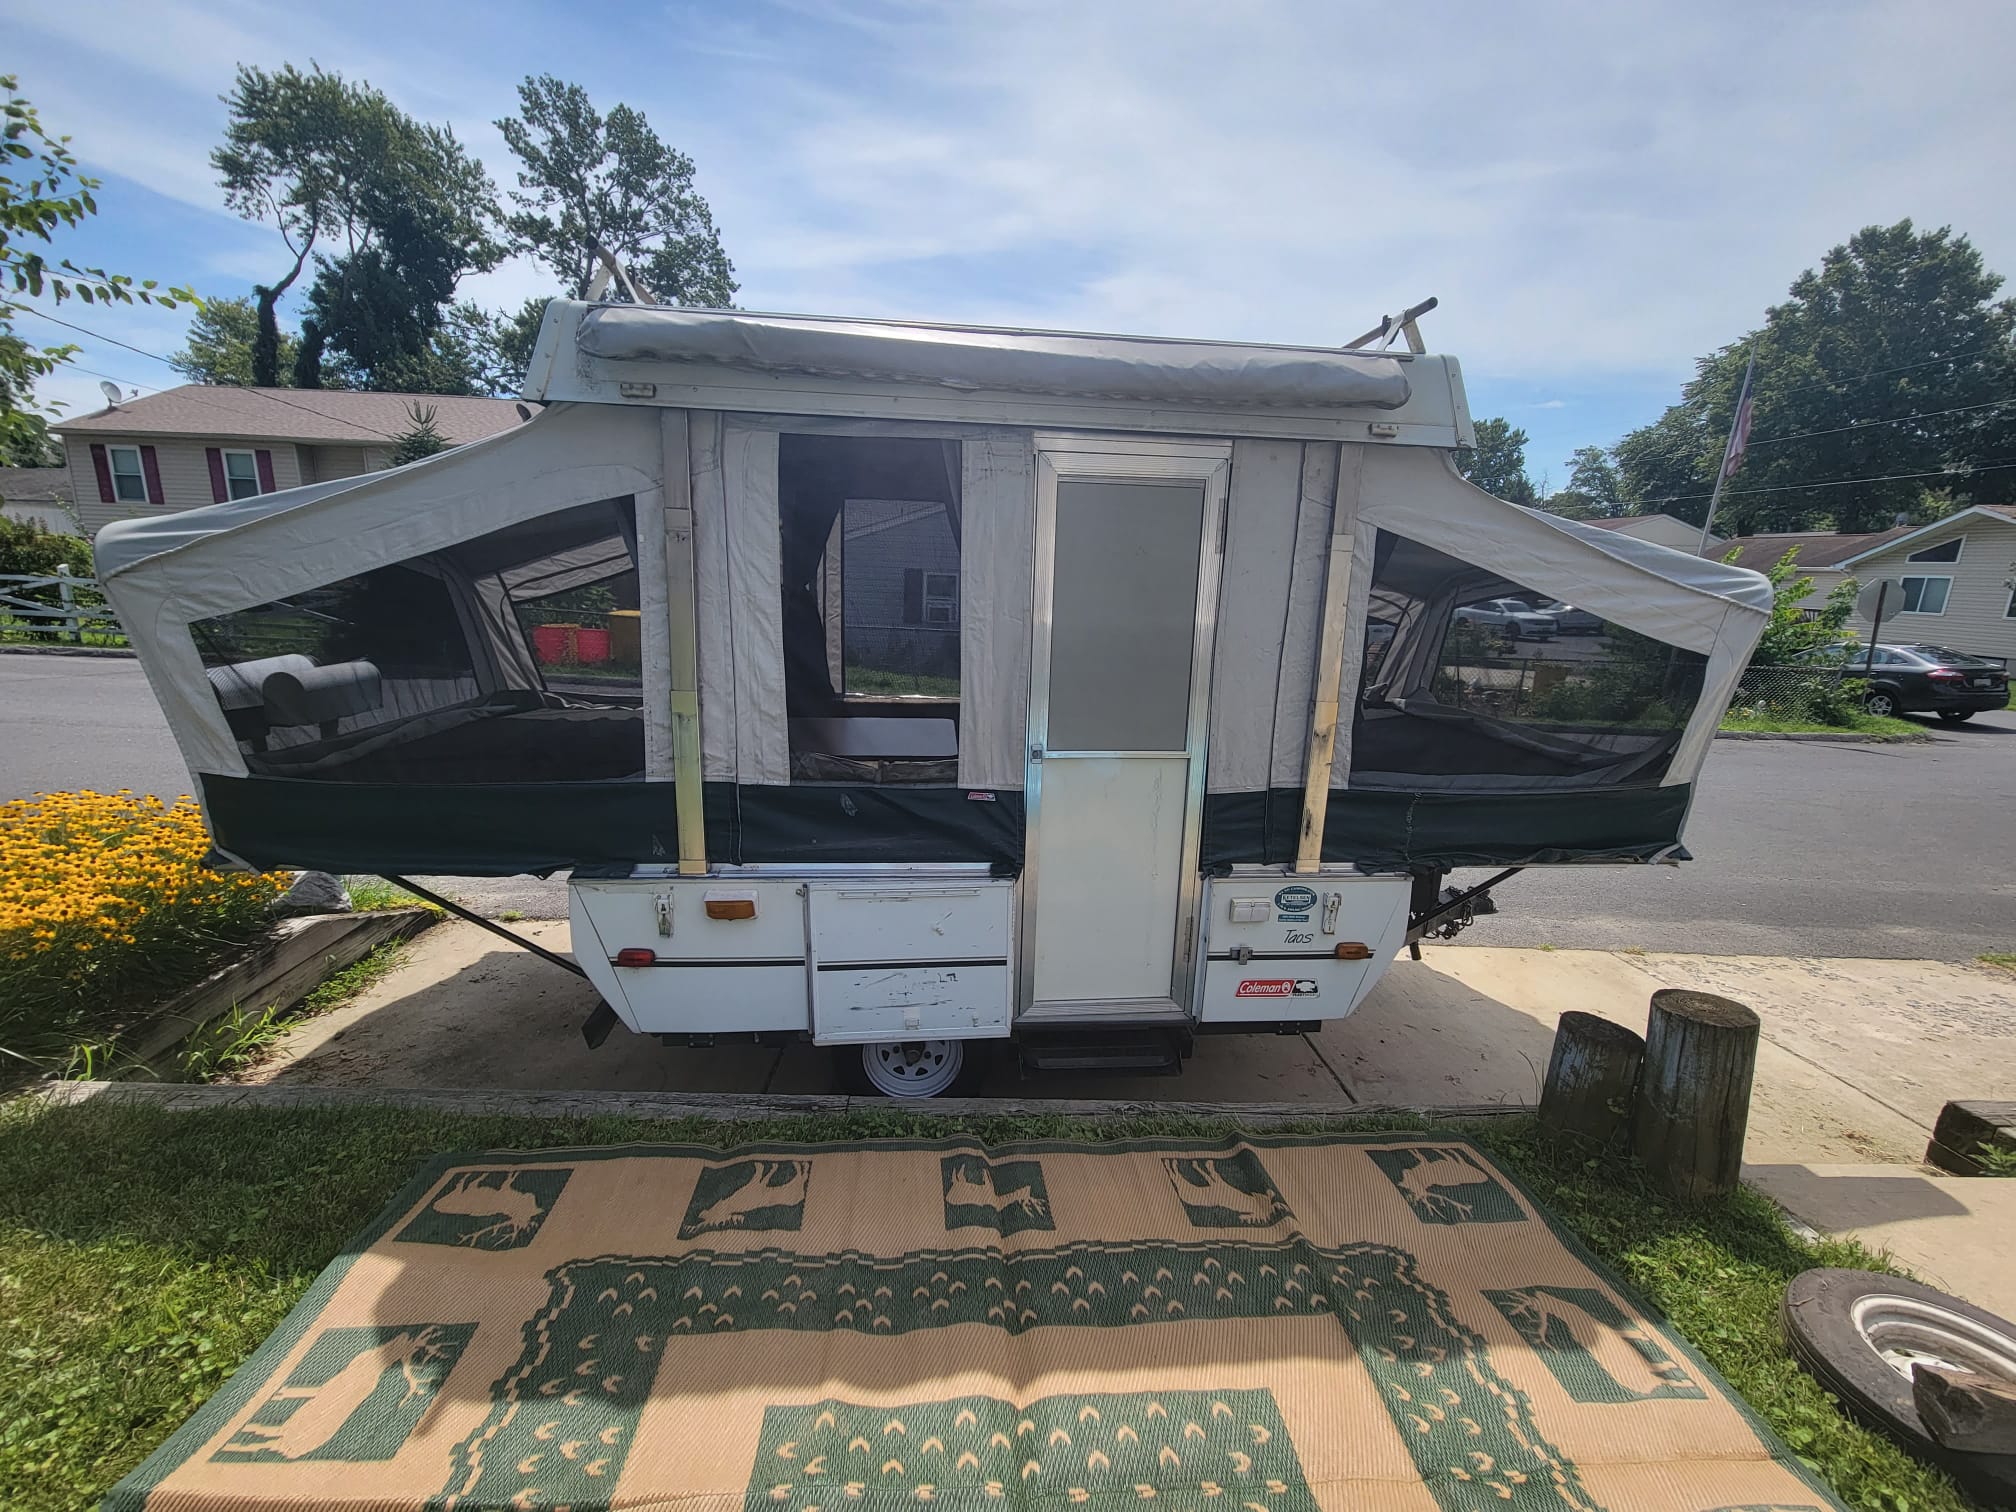
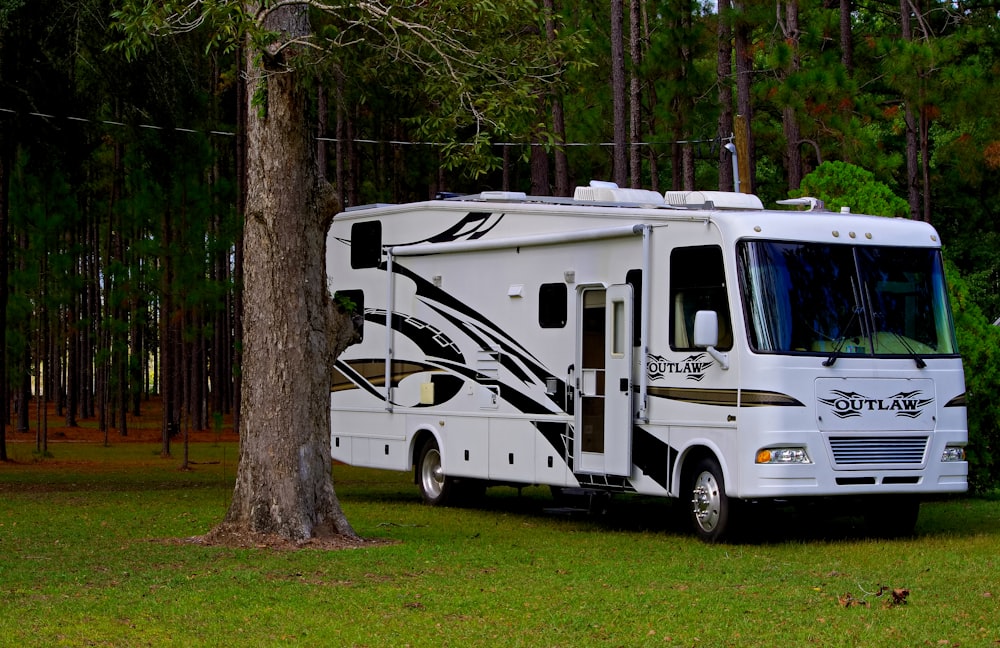
Step 3: Take photos
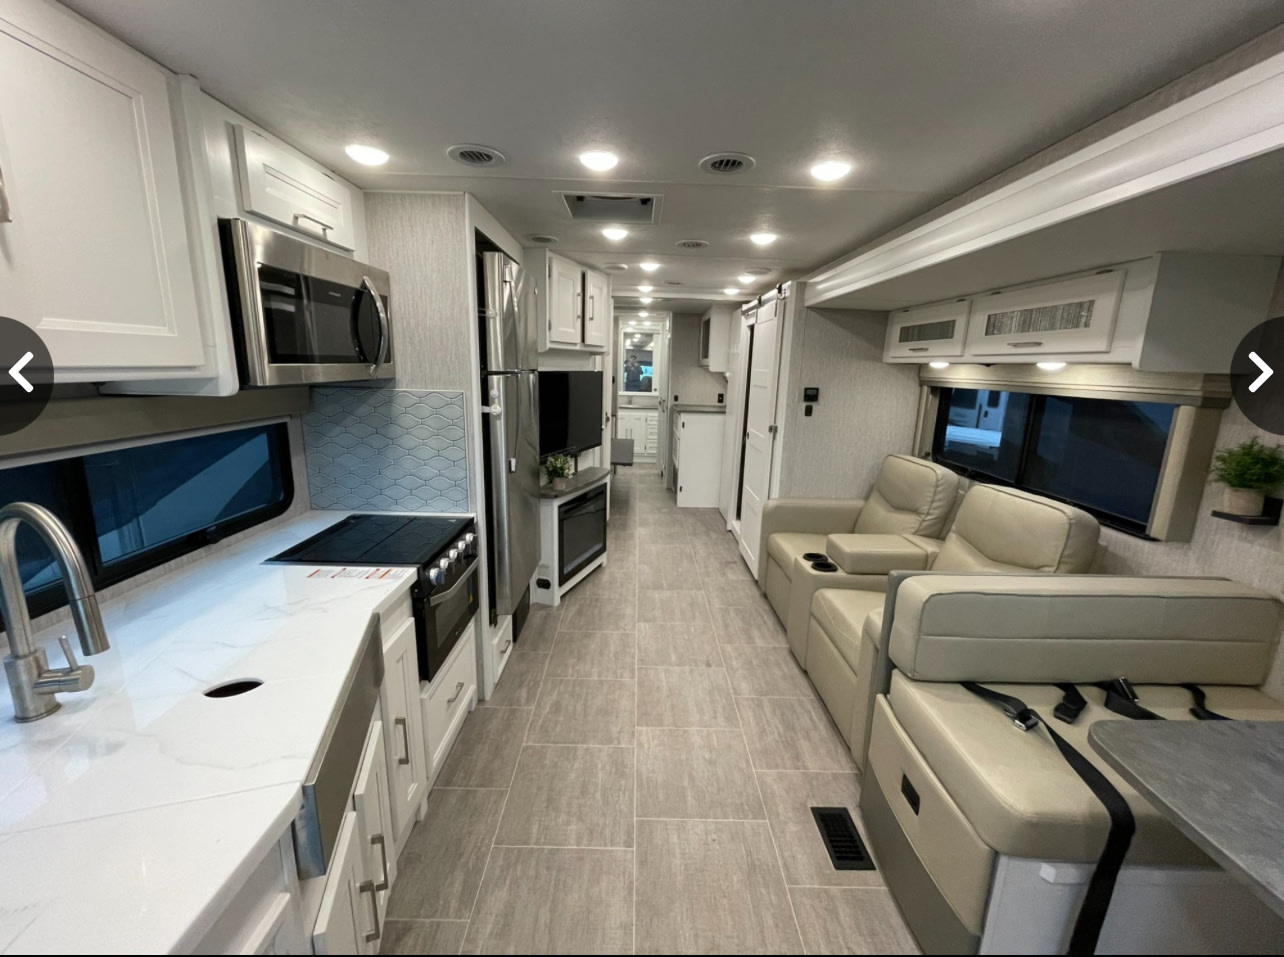
The third step is to go back and grab some photos of your RV. This is important because pictures make the manual easier to navigate and understand. Take at least one photo for each section of your table of contents, and make sure the photo will help illustrate important information.
Kathleen Oliver’s guide is a good example of photo usage. You can download a PDF of her RV Renter’s Manual here.

Step 4: Write a personal introduction
Of course, your renters will want to get to know you too! Write a personal introduction to go at the beginning of your manual. This should welcome your renter and thank them for choosing your RV.
Your introduction can ask for feedback, provide personal contact information, or even give a little backstory about your own experience with the RV.
Everyone loves a good adventure story and knowing where the RV has been!
Step 5: Put it all together
Using a program like Google Docs or Microsoft Word, you can put all of your photos and information together into a handy-dandy guide.
Put the introduction at the beginning of your manual, add your table of contents next, and place a corresponding photo beneath each header in your table of contents. After the table of contents, write out information for each section of your guide, helping people understand the ins and outs of your RV.
Whenever possible, illustrate your information using the photos you snapped earlier. Add arrows and boxes to the photos to point out specific features. This visual information is very helpful for renters who may feel overwhelmed by wordy descriptions.
When you finish your guide, make sure to save it as a PDF so you can send your renter a link before they arrive.
Step-by-step guide for making a video guide to your RV
A video is another way to help your renters to understand how to use your RV. Videos are easy to follow and can be a fun way for renters to see your RV in action before they arrive. Check out this how-to video from Outdoorsy to get some inspiration!
Step 1: Prepare your RV
Begin by getting the RV ready for filming. This will include a good clean up as well as finding the best position for your camera. Depending on what you’re filming, finding the right position can sometimes be tricky. For this reason, it is best to have a helper during this process.
Another part of preparation is finding the best lighting possible. Late morning and early evening nearly always offer good lighting. You can make it even better by opening windows and doors to let the sunshine in.
Step 2: Create your videos
When the RV is ready to go you can jump into the filming process. Generally speaking, it’s okay to use your phone to film, just make sure you’re holding it horizontally and not vertically.
You’ll want to create several videos that are shorter rather than one long video. Focus on one part of your table of contents, and give each of these videos a title that is relevant to that part of the tour.
Step 3: Upload to YouTube
After creating your videos, head over to YouTube and share them with the world. Jenn Kimick has some excellent examples of YouTube RV guide videos for both her Minnie Winnie and her Thor Chateau.
If you have a social media page or website, be sure to upload or share your videos there as well. This is what Jack Shoemaker has done, and his renters find it immensely helpful.
Seek out feedback
Once you have created your manual and your videos, be sure to share them on the Outdoorsy RV Owner Community for feedback. This will help ensure you haven’t missed any important information or overlooked any typos or mistakes. Your guide will help your renters have the best and safest road trip possible!