Want to get serious about camp cooking? Get a Dutch oven. Once considered the essential cookware on the American frontier, Lewis and Clark brought a Dutch oven along on their famous expedition, traveling by covered wagon to every corner of the country. They may look primitive, but with the right knowledge, you can cook nearly anything with one.
What is a Dutch oven
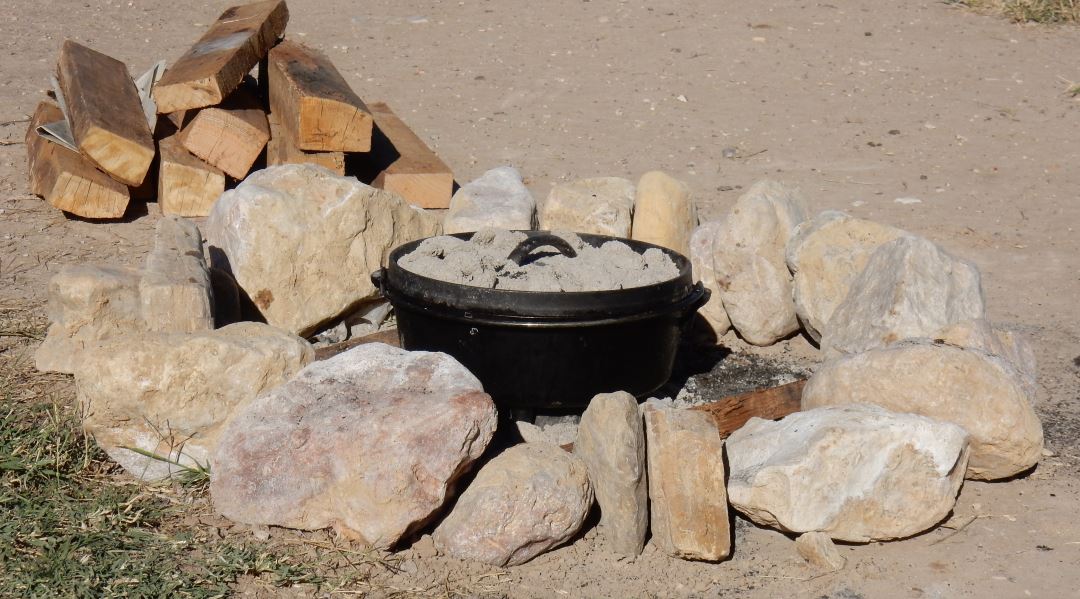
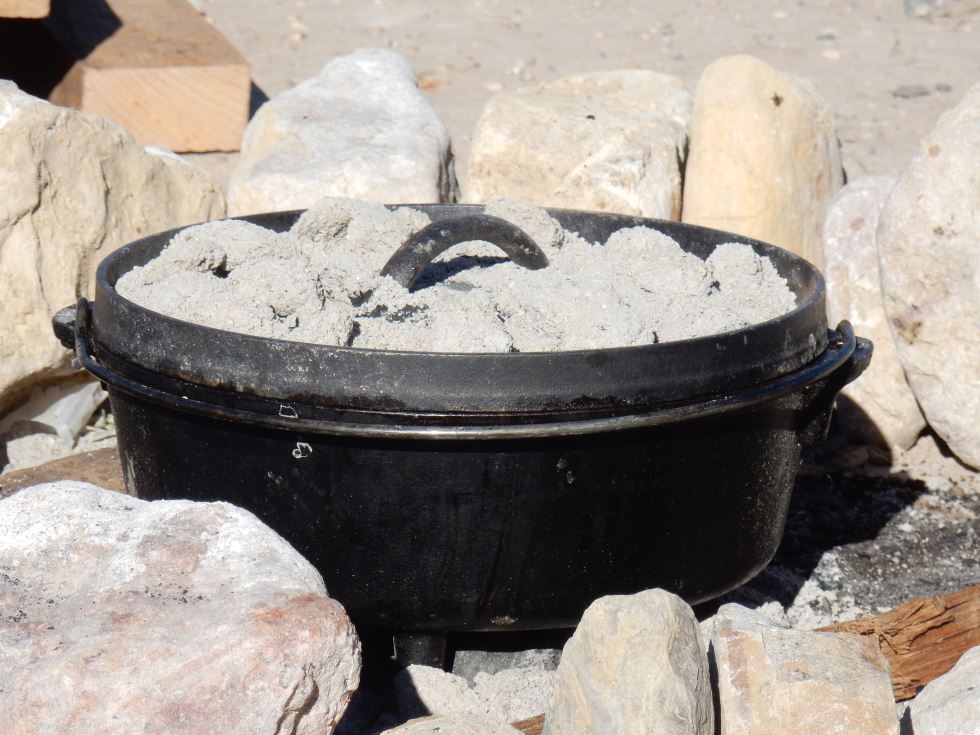
A typical Dutch oven is a pot made of seasoned cast iron. It always includes a heavy lid, also made of cast iron. A camping Dutch oven has two key properties. First, the bottom will have 3 feet on it. Second, the lid will be flat, with a rim around the lip of it. The feet are there to let you put hot coals under the oven, and the lid is flat and rimmed so you can put hot coals on top of the oven.
Dutch ovens are thick and heavy for a reason. This lets them heat up slowly and evenly, then it retains that heat to keep cooking the food. The heavy lid acts as insulation, and a convex surface on the bottom helps concentrate the heat inside.
Seasoning is the dark coating on the iron. It’s made from naturally polymerized oil. It both protects the oven from rusting and gives it a tough non-stick surface. Ideally, it should be dark and smooth.
What can you cook?
Nearly anything. Really, the biggest limitation of a Dutch oven is its size. If you can fit it in there, you can cook it. Let’s look at what one can do.
- Boil. You can boil water, make soups, pasta, hot drinks, and so on.
- Sauté. You can get cast iron really hot and it has no issues, so sautéing meat, vegetables, or grains is no problem.
- Roast. Just like a regular oven, you can roast beautifully in a dutch oven. This is probably where it shines the brightest as camp cookware.
- Bake. You can make a cake in a dutch oven, or a loaf of bread, and it’s actually very easy to do.
- Fry. As in, deep fry. Again, you can get the oven super hot, put oil in it, and deep fry anything that will fit inside: fries, doughnuts, tempura, etc.
So what can’t you cook? Highly acidic foods can degrade the seasoning a bit and pick up metallic flavor notes. Tomatoes, heavy vinegar, pineapple, and lemons are foods to watch out for, especially for slow cooking like roasting. It takes a while for the flavor change to happen, so if it’s a quickly made tomato dish, you’re fine. Try to slow roast spaghetti sauce for hours though, and you might not be as happy.
Finally, don’t store leftover food in the cast iron overnight. The moisture is not good for the pot long-term.
How to heat it
At camp, a Dutch oven is heated with coals. For frying, boiling, and sautéing, you will typically only have coals on the bottom of the oven, and you aren’t especially concerned with how much coal you use. The more you use, the hotter the oven will get. For deep frying, you’ll need a thermometer that can read high temperatures. Each recipe will say how hot the oil needs to be.
For baking and roasting, you want to maintain a consistent temperature over a specific period of time. For these, you will be using a precise number of coals on both the top and bottom of the oven, and you will need a way to keep track of time. You don’t want to be “checking” on the food because lifting the lid cools down the oven and messes up the timing.
You can, of course, heat it on a grill, propane burner, or just about any other heat source. The legs used to hold it over the coals can make it hard to put on a grill, but not impossible, and the weight makes it hard to use a camp burner.
Preparing the coals
When you want temperature control, you want to use charcoal briquettes. Get the ones that don’t have lighter fluid on them. You can pretty much just put the oven on top of the coals from your campfire. Provided you have a good coal bed, this will get the oven very very hot, perfect for deep frying.
The easiest way to fire up your briquettes is with a charcoal starter. They are super reliable, work in poor weather, and are just generally super handy. The coals are ready when they have an ashy surface.
You also want a pair of metal tongs to move the briquettes around with.
How to handle it
For camp cooking, you need a lid lifting tool. This is a specialized cast iron hook used to move the pot around and to lift the lid. For moving the pot, any sort of hook will do. The pot will have a removable wire handle you can hook onto, but the lid is a different story. When cooking, the lid gets really hot and will have hot coals on it. If you used a normal hook, it’s likely to tip over and spill coals into your oven. The lid lifter is designed to pick up the lid in a stable way by bracing against the handle. The lifting tool also makes a decent fire poker. Fire gloves are also really handy, letting you pick up the pot directly if you need to or even move coals around.
Mostly remember, it’s heavy and it’s hot. If you really like cooking with a Dutch oven, you may want to get a camp table—a portable metal platform on which you can set your coals and the oven. The purpose is to get it up off the ground so it’s easier to work with. It can also be handy for any outside kitchen work while camping.
Caring for it
Like any cast iron, a Dutch oven requires special care for cleaning and storage. The goal is to protect the seasoning, which makes it non-stick and protects it from rust. Here are the rules to keep in mind.
- No soap! Soap will break up the seasoning.
- Store it dry. Dry it off thoroughly before storage and include a paper towel to soak up errant moisture.
- Fire is good. One way to clean one is to wipe it down with a cloth, then stick it on a hot fire for awhile until all the food becomes carbon, then scrape it off.
- Wood is good. Wooden scrapers are perfect for cleaning cast iron. Plastic is good too, provided the oven isn’t super hot.
If your seasoning gets damaged, you’ll want to re-season it.
- Clean off the old seasoning (oven cleaner works well).
- Use a paper towel to coat it very lightly, but very thoroughly with oil (pure canola oil is a decent choice).
- Bake it upside down over a very high temperature for about an hour.
- Repeat Steps 2 and 3 until you get a hard, smooth, black coating (around 4-6 coats).
The cooking
To be honest, aside from how you handle it, the tools you need, and how you heat it—with coals—there isn’t anything particular about how you cook with it. You use pretty much the same actual cooking techniques as any other pan or pot you might cook with. What is particular about dutch oven recipes is that they generally tell you how many coals to use and they focus on just using the oven itself as a cooking vessel rather than multiple pots and pans. Google “Dutch oven camp recipes” and you’ll find tons of them.
The recipe
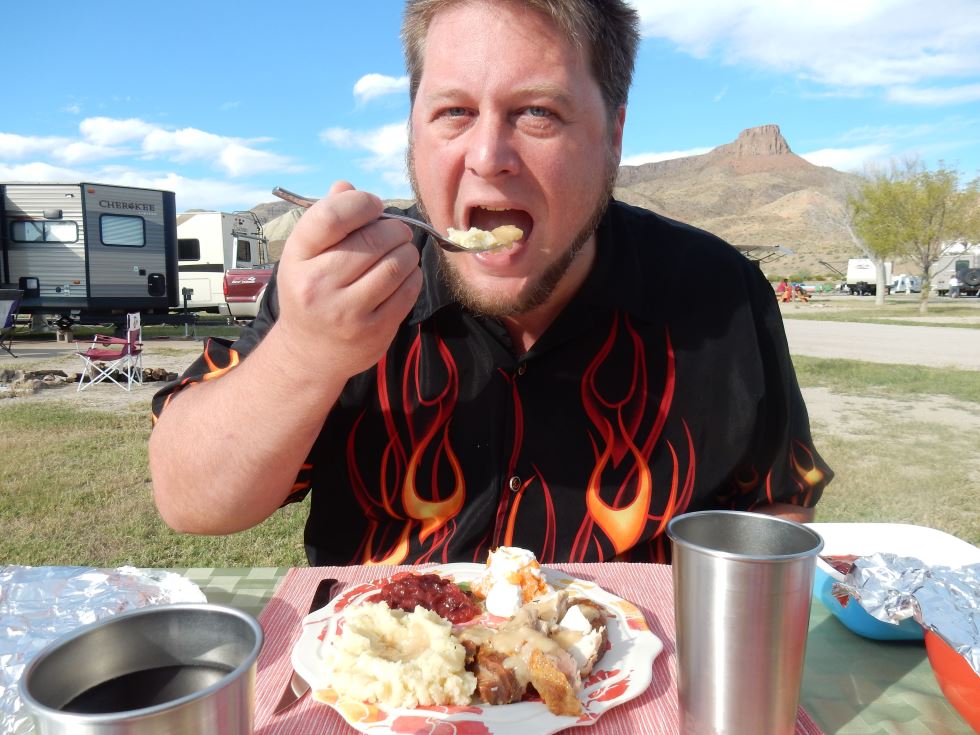
This is a recipe my wife developed that really opened my eyes to what camp cooking could be. Prior to this, hot dogs and hobo pockets were about as gourmet a meal as I’ve ever had camping. This is a hearty meal that will satisfy any appetite for savory roasted meat. The flavors of the different ingredients mix and mingle in amazing ways, yet each will have a distinct taste and texture.
Cast of characters
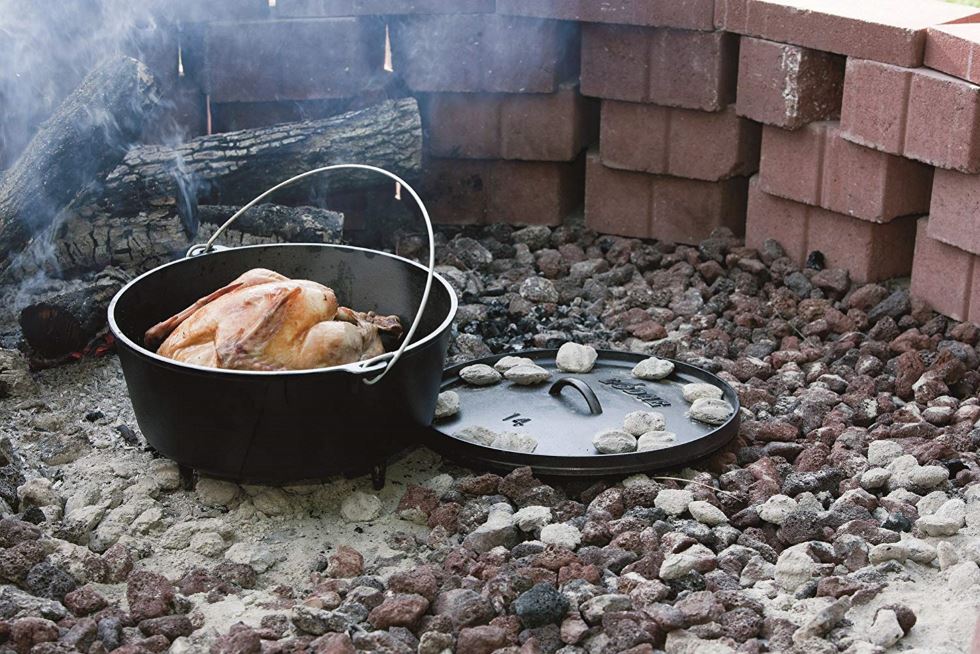
- 10-quart Dutch oven and accessories
- 28 charcoal briquettes
- Chef’s knife
- Cutting board
Ingredients
- 2 Cornish game hens
- 1 package of smoked kielbasa or Polish sausage
- 1 to 2 pounds cooking potatoes
- 1 to 2 onions
- 1 bulb of garlic
- Fresh rosemary
- Fresh thyme
- Fresh sage
- Pepper
- Salt
- Paprica
- Garlic powder
- Cooking oil
Directions
- Mix the salt, pepper, paprika, and garlic powder together as a dry rub in equal parts, according to your tastes.
- Clean and cut the potatoes into uniform pieces, roughly 1-inch on a side (Pro tip: Leave the skin on).
- Cut the kielbasa into 1-inch pieces.
- Break and clean the garlic into individual cloves. Chop the onions into roughly 1-inch pieces.
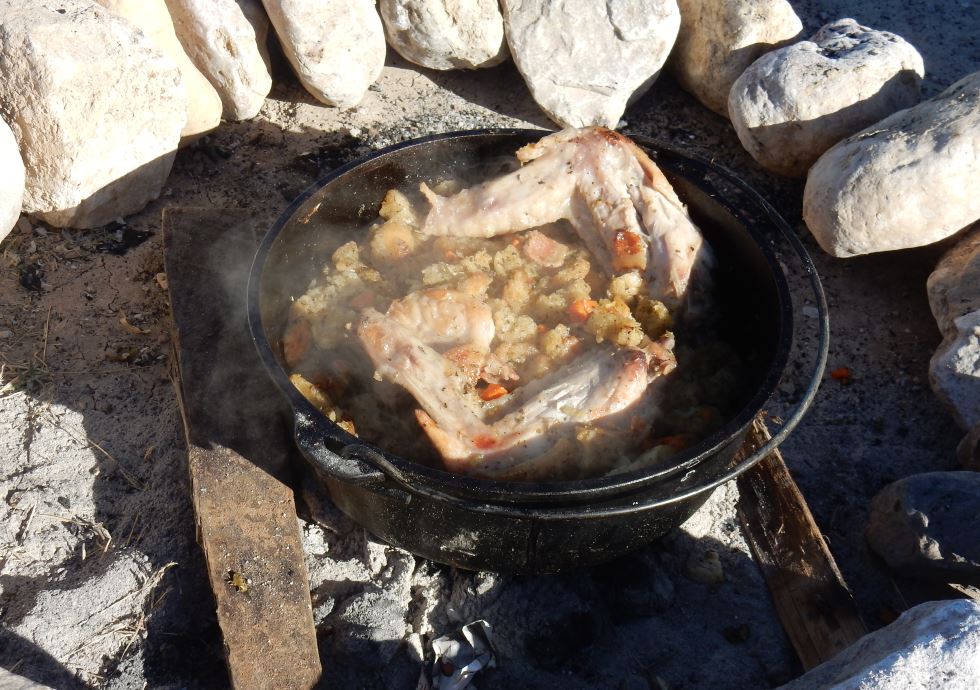
- Mix the cut potatoes, kielbasa, garlic, and onions together roughly in the bottom of the oven.
- Add 1/2 cup water on the mixture as well as 2 tablespoons cooking oil. Stir to coat.
- Place the fresh herbs on top of the mixture.
- Clean the game hens thoroughly, then dry them. Rub the spice mixture onto the surface of the birds. Place the game hens on top of the herbs breast side up.
- Put the lid on the oven.
- Heat the oven with 10 coals on the bottom and 18 coals on the lid.
- Check the temperature of the hens after 45 minutes. Cook until breasts measure 165 degrees Fahrenheit
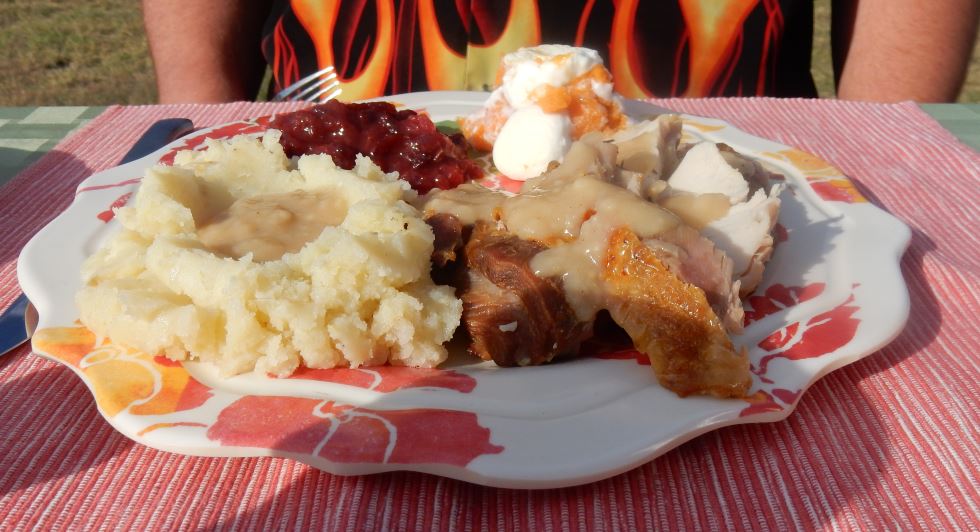
- After cooking, remove the hens and place each on a plate for serving. Discard herbs. Serve potatoes and sausage next to the hens.
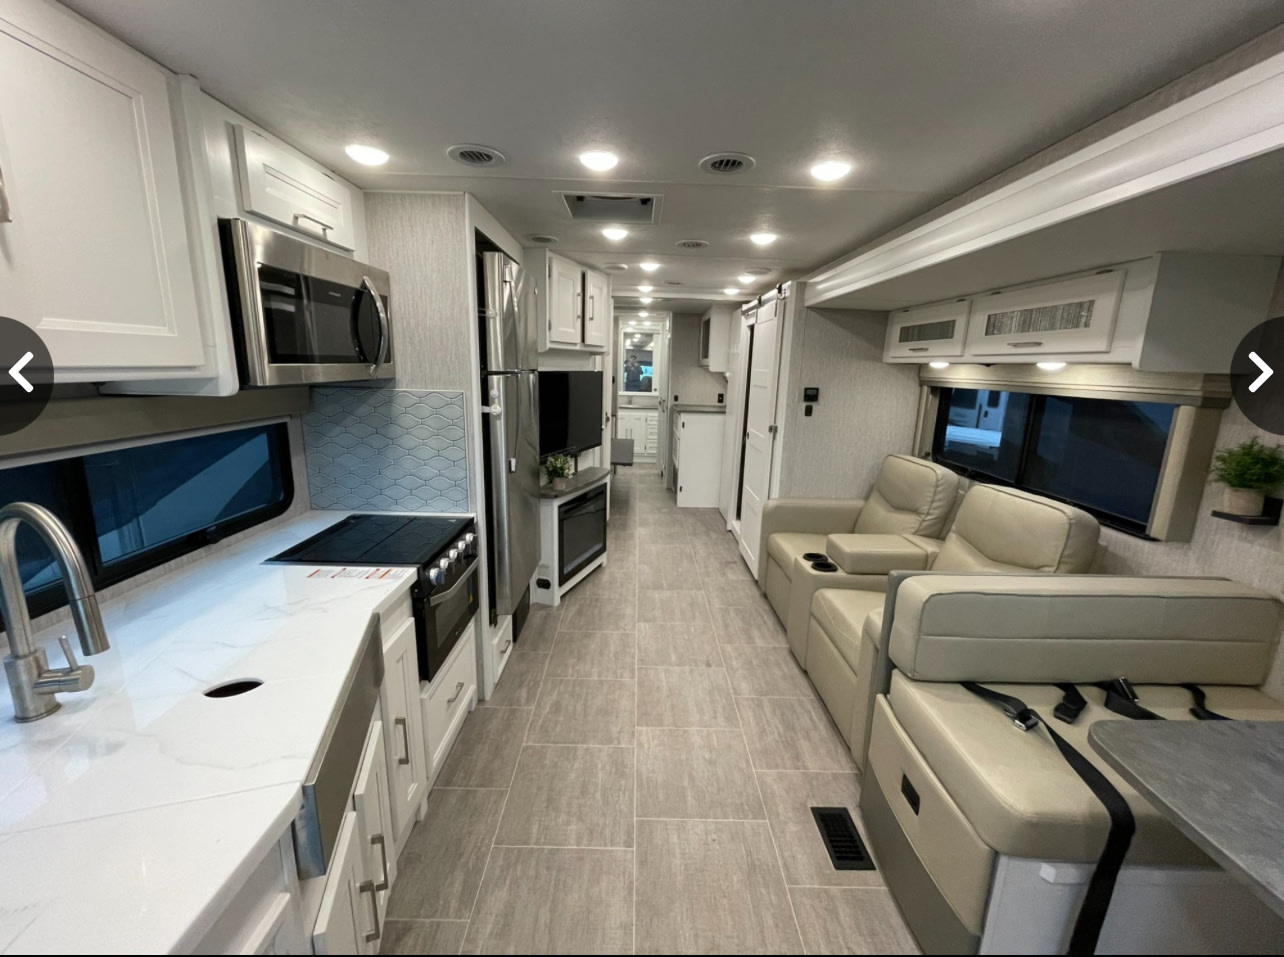
Ready to get cooking in the great outdoors? Search for a great RV to rent in your area now!