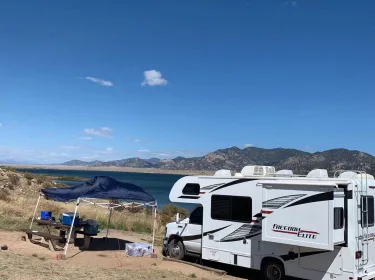


Park with care: Leave adequate space for extending the awning and slide-out without obstructions.
Access Connections: A gray key unlocks compartments on the side of the RV containing power, water, and sewer hookups located behind the rear tire.
Power Up First: Connect the power cord, preferably to a surge protector, to allow the use of campground power for the slide and leveling jacks, reducing reliance on the house battery.
Stabilize and Level: Engage the parking brake and use the automatic leveling system to level the RV, or perform manual leveling if necessary. Using jack pads under the stabilizing jacks is recommended to protect against debris.
Connect to Water: Attach a water pressure regulator to the city water connection, which reduces the water pressure to a safe level of 40-50 PSI. Then, connect your hose and ensure the drain plug is in the hot water heater before turning on the hot water heater.
Sewer Hookup: Connect the sewer hose, then empty the black tank (toilet waste) first, followed by the gray tank (sink and shower drainage). This helps clean the sewer hose with the no cleaner gray water.
Using the Amenities
Interior Features
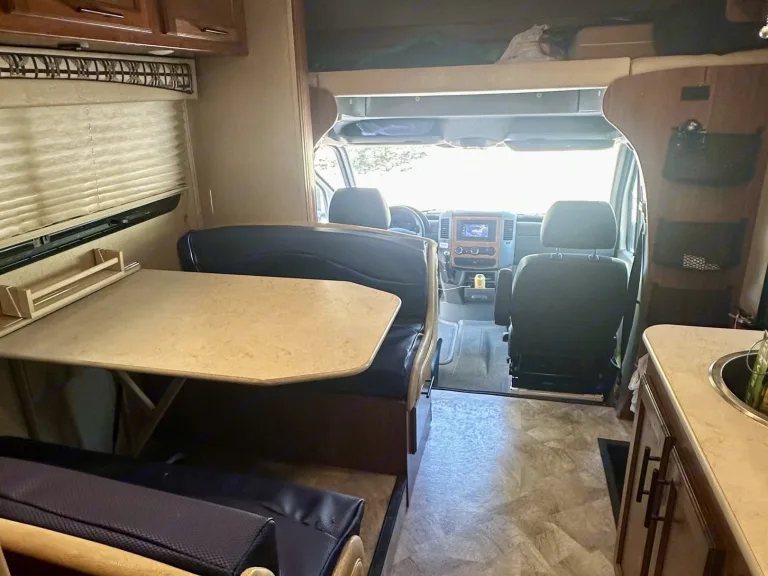
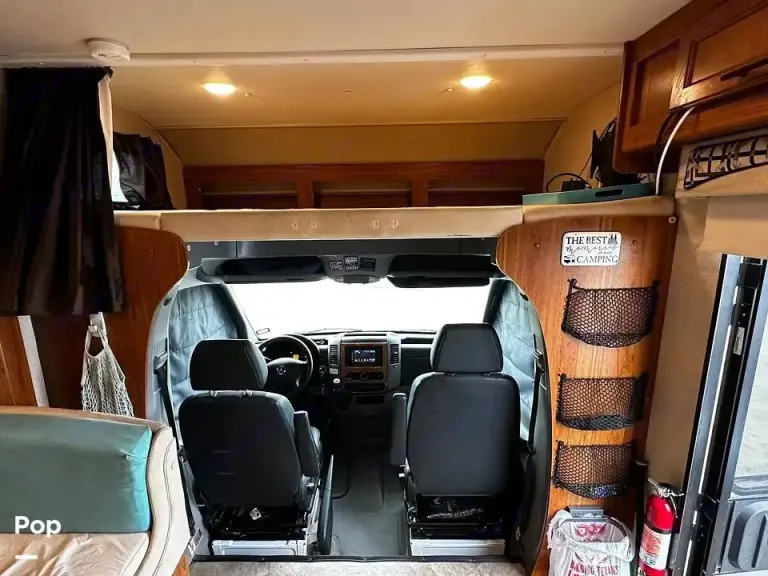
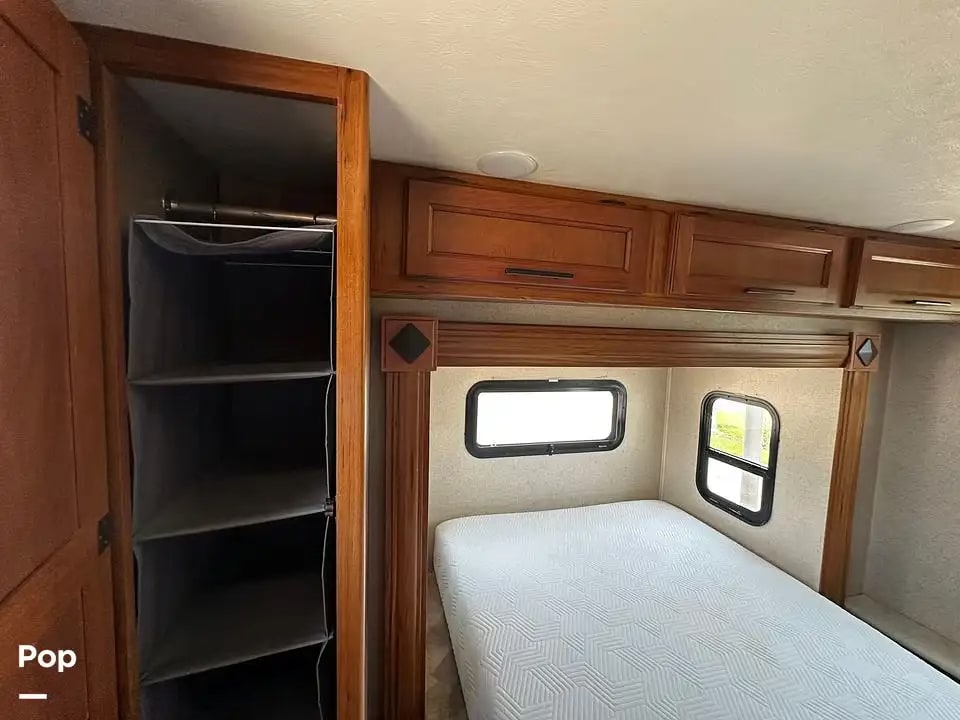
Slide-outs: The Jayco Melbourne 24K has two slides: a dinette slide behind the driver's seat and a rear bedroom slide. The rear bedroom slide needs to be fully extended for the bed to be used.
Dinette: The dinette table can be lowered to create a bed, which may be suitable for children.
Sleeping Areas: In addition to the dinette bed, the RV has an overhead bunk with a 750 lb capacity.
Kitchen: The kitchen is equipped with a microwave, a two-burner gas stove, a sink, a flip-up table, outlets, and LED lights. It also includes a refrigerator and a dedicated space for a trash can.
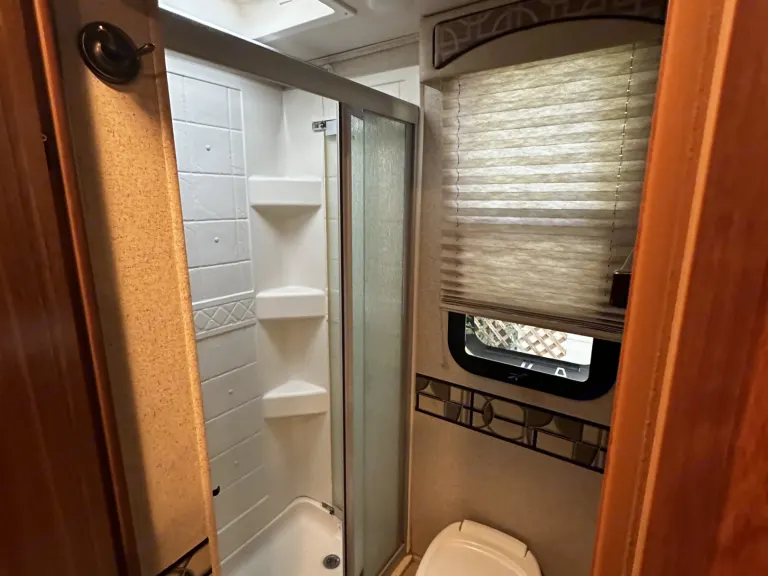
Bathroom: The RV includes a toilet, shower, fan, and towel rack, but the sink is located outside the bathroom. The shower is small but functional and includes a skylight.
Exterior Features
Awning: The Melbourne 24K has an automatic awning with adjustable tilt and an LED light. A safety feature prevents the awning from extending when the engine is running.
Storage: The RV offers pass-through storage bays.
Utilities: The wet bay houses the outdoor shower and freshwater and sewer connections.
Water System: The RV has a "country fill" feature to fill the water tank.
Propane: The unit has a 9.8-gallon propane tank.
Important Notes
This information is a guide to the operation of the Jayco Melbourne 24K's features, equipment, and controls.
It's crucial to read and follow all safety messages and information in the Owner's Manual and Warranty Packet.
This manual may not cover every detail, and component variations can exist. Contact your dealer if you find significant differences in your RV.
For details on specific features and their operation, including the Electric Rear Stabilizer Control and the Bigfoot/Quadra Leveling System (if equipped), refer to Section 4: Vehicle Operation in the Owner's Manual.
Ensure that the Awning and slide have enough clearance when arriving at a campsite.
The Jayco Melbourne 24K comes with a 2-year limited warranty and a 3-year structural warranty.Instructions
Key fob remote opens the cab. Purple key is for the storage doors. Black opens the RV door deadbolt and handle. Silver is for the battery compartment and the generator.
Slide Outs must be slid all the way out or in. DO NOT stop halfway and always check for obstructions before activating.
Water at campsite. Connect blue hose directly to campsite spigot. Add the green hose for extra length if needed. Switch RV water arrows to 2 & 6. Slowly turn on campsite water for constant pressure to the RV system. Keep water pump OFF. Switch to 1 & 6 in order to fill the 25-gallon RV tank. Check inside gauge for the water level displayed in 1 - 4 lights. Four dots is full and one dot almost empty. Turn the water arrows to Normal 3 & 5. Switch ON the water pump for boondocking and the pump will give you on-demand pressure. You’ll hear the pump switch on after using the water or flushing toilet.
Campsite Power Connection. First, turn off the main RV power switch and turn off breaker at the main camp power 30 amp. Not many 50 amp but there is an adapter if needed. (I’ve never.) Next, connect the big black power cord in yellow bag to the RV (Label straight up). Then spin grey ring until tight (Do not cross thread). The ring should spin easily. Now connect the 30amp plug to main power pole and switch ON the breaker. Now, switch back on the RV power and everything will run, like AC and microwave. When leaving the campsite, turn off the power in reverse order starting with the RV power switch and then campsite main breaker. After unplugging everything, you can switch back on the RV power. Although the fridge runs on propane, it does need power. I just leave the fridge on auto.
Electric water heater switch (right) can be turned on if needed. On-demand propane water heater (middle switch) is available during cold months. Takes about 5 min to heat up and you should hear the pilot light automatically after 3-5 seconds.
Toilet will flush (use foot to press) when water is connected at campsite or the water pump is ON. We recommend using the campsite restrooms when accessible. If you really have to use the RV toilet for #2, hold down the foot flusher a bit and fill the tank halfway before #2. * If water pump ever runs nonstop, there is a leak OR you are out of water and it can’t build pressure. Turn pump off immediately!
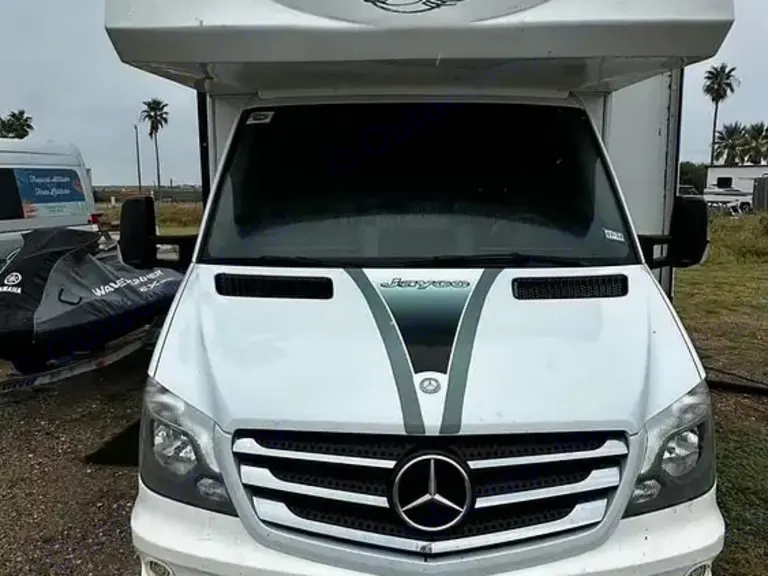
Driving the 24’ JayBird RV is a breeze, just don’t forget that it’s Diesel Only! This is a heavy, high clearance vehicle 10’4 so no drive thru windows. She really drives well on the highway and over steep mountain passes in 3rd gear. You can switch into manual transmission on the fly by tapping the gear shift left or right from D drive. She automatically shifts into 4th gear when engaged. *3500 rpm max please. While driving thru town and uneven ground, take it nice and slow! Otherwise, the Jaybird will shake violently side to side and anything not secured, tied down or buckled up will go flying around the camper. The headlights are on automatic if you are doing any night driving and will shut off automatically. You can also turn the knob to the right and switch the lights on, just don’t forget to turn off. Note: If running lights are still on… You must unclip the main cab power switch that is located just right off the gas pedal, wait 5 seconds and clip back on.
Leveling the camper. There are leveling blocks that you can stack under the wheels. Please use Reverse gear to crawl up on the blocks. Don’t forget to level before hooking up to power and water. Next, flip the switch and put the stabilizing jacks down. Once the jacks start moving up or down, they are automatic. You can look under the RV and see them moving. Normally I keep the automatic step switch OFF.
Inverter is nice to use for charging phones or running small fans, etc. Just push the power button to turn on and off when you’re not plugged into the campsite (shore power). When it’s sunny, you’re usually good on power for a few days boondocking with a full water tank and empty grey/black water. The solar power system requires no maintenance or adjustments.
Septic hookups for black water (toilet) and grey water (sinks, shower) are located on the driver’s side middle of the RV. Throw on some gloves and attach the sewer hose to the exit port after taking the cap cover off. Note: usually a bit of liquid comes out when you remove the cap, so don’t worry if there’s a bit of spillage. Make sure you double-check the hose connection by trying to wiggle it. There are 2 levers for grey and black. When you are dumping the tanks, make sure the hose is secured to the drain hole. I’ve used rocks to secure it out there is an anchor weight in the RV to hold it down so no splashing. Pull the black lever halfway and sewage will run through the house to the drain. Flowing, you can open all the way. Next, empty the grey water in the same manner. Campsite connections can stay open the entire time that you’re parked and flow freely. There’s a black bag with descending sections to prop up the hose while connected. This lets gravity assist fluids to drain properly. Please rinse the sewer hose out after dumping.Thank you!
Recommendations• No off roading allowed. Must keep the RV on pavement.•Sorry No Pets
Park with care: Leave adequate space for extending the awning and slide-out without obstructions.
Access Connections: A gray key unlocks compartments on the side of the RV containing power, water, and sewer hookups located behind the rear tire.
Power Up First: Connect the power cord, preferably to a surge protector, to allow the use of campground power for the slide and leveling jacks, reducing reliance on the house battery.
Stabilize and Level: Engage the parking brake and use the automatic leveling system to level the RV, or perform manual leveling if necessary. Using jack pads under the stabilizing jacks is recommended to protect against debris.
Connect to Water: Attach a water pressure regulator to the city water connection, which reduces the water pressure to a safe level of 40-50 PSI. Then, connect your hose and ensure the drain plug is in the hot water heater before turning on the hot water heater.
Sewer Hookup: Connect the sewer hose, then empty the black tank (toilet waste) first, followed by the gray tank (sink and shower drainage). This helps clean the sewer hose with the no cleaner gray water.
Using the Amenities
Interior Features
Slide-outs: The Jayco Melbourne 24K has two slides: a dinette slide behind the driver's seat and a rear bedroom slide. The rear bedroom slide needs to be fully extended for the bed to be used.
Dinette: The dinette table can be lowered to create a bed, which may be suitable for children.
Sleeping Areas: In addition to the dinette bed, the RV has an overhead bunk with a 750 lb capacity.
Kitchen: The kitchen is equipped with a microwave, a two-burner gas stove, a sink, a flip-up table, outlets, and LED lights. It also includes a refrigerator and a dedicated space for a trash can.
Bathroom: The RV includes a toilet, shower, fan, and towel rack, but the sink is located outside the bathroom. The shower is small but functional and includes a skylight.
Exterior Features
Awning: The Melbourne 24K has an automatic awning with adjustable tilt and an LED light. A safety feature prevents the awning from extending when the engine is running.
Storage: The RV offers pass-through storage bays.
Utilities: The wet bay houses the outdoor shower and freshwater and sewer connections.
Water System: The RV has a "country fill" feature to fill the water tank.
Propane: The unit has a 9.8-gallon propane tank.
Important Notes
This information is a guide to the operation of the Jayco Melbourne 24K's features, equipment, and controls.
It's crucial to read and follow all safety messages and information in the Owner's Manual and Warranty Packet.
This manual may not cover every detail, and component variations can exist. Contact your dealer if you find significant differences in your RV.
For details on specific features and their operation, including the Electric Rear Stabilizer Control and the Bigfoot/Quadra Leveling System (if equipped), refer to Section 4: Vehicle Operation in the Owner's Manual.
Ensure that the Awning and slide have enough clearance when arriving at a campsite.
The Jayco Melbourne 24K comes with a 2-year limited warranty and a 3-year structural warranty.Instructions
Key fob remote opens the cab. Purple key is for the storage doors. Black opens the RV door deadbolt and handle. Silver is for the battery compartment and the generator.
Slide Outs must be slid all the way out or in. DO NOT stop halfway and always check for obstructions before activating.
Water at campsite. Connect blue hose directly to campsite spigot. Add the green hose for extra length if needed. Switch RV water arrows to 2 & 6. Slowly turn on campsite water for constant pressure to the RV system. Keep water pump OFF. Switch to 1 & 6 in order to fill the 25-gallon RV tank. Check inside gauge for the water level displayed in 1 - 4 lights. Four dots is full and one dot almost empty. Turn the water arrows to Normal 3 & 5. Switch ON the water pump for boondocking and the pump will give you on-demand pressure. You’ll hear the pump switch on after using the water or flushing toilet.
Campsite Power Connection. First, turn off the main RV power switch and turn off breaker at the main camp power 30 amp. Not many 50 amp but there is an adapter if needed. (I’ve never.) Next, connect the big black power cord in yellow bag to the RV (Label straight up). Then spin grey ring until tight (Do not cross thread). The ring should spin easily. Now connect the 30amp plug to main power pole and switch ON the breaker. Now, switch back on the RV power and everything will run, like AC and microwave. When leaving the campsite, turn off the power in reverse order starting with the RV power switch and then campsite main breaker. After unplugging everything, you can switch back on the RV power. Although the fridge runs on propane, it does need power. I just leave the fridge on auto.
Electric water heater switch (right) can be turned on if needed. On-demand propane water heater (middle switch) is available during cold months. Takes about 5 min to heat up and you should hear the pilot light automatically after 3-5 seconds.
Toilet will flush (use foot to press) when water is connected at campsite or the water pump is ON. We recommend using the campsite restrooms when accessible. If you really have to use the RV toilet for #2, hold down the foot flusher a bit and fill the tank halfway before #2. * If water pump ever runs nonstop, there is a leak OR you are out of water and it can’t build pressure. Turn pump off immediately!
Driving the 24’ JayBird RV is a breeze, just don’t forget that it’s Diesel Only! This is a heavy, high clearance vehicle 10’4 so no drive thru windows. She really drives well on the highway and over steep mountain passes in 3rd gear. You can switch into manual transmission on the fly by tapping the gear shift left or right from D drive. She automatically shifts into 4th gear when engaged. *3500 rpm max please. While driving thru town and uneven ground, take it nice and slow! Otherwise, the Jaybird will shake violently side to side and anything not secured, tied down or buckled up will go flying around the camper. The headlights are on automatic if you are doing any night driving and will shut off automatically. You can also turn the knob to the right and switch the lights on, just don’t forget to turn off. Note: If running lights are still on… You must unclip the main cab power switch that is located just right off the gas pedal, wait 5 seconds and clip back on.
Leveling the camper. There are leveling blocks that you can stack under the wheels. Please use Reverse gear to crawl up on the blocks. Don’t forget to level before hooking up to power and water. Next, flip the switch and put the stabilizing jacks down. Once the jacks start moving up or down, they are automatic. You can look under the RV and see them moving. Normally I keep the automatic step switch OFF.
Inverter is nice to use for charging phones or running small fans, etc. Just push the power button to turn on and off when you’re not plugged into the campsite (shore power). When it’s sunny, you’re usually good on power for a few days boondocking with a full water tank and empty grey/black water. The solar power system requires no maintenance or adjustments.
Septic hookups for black water (toilet) and grey water (sinks, shower) are located on the driver’s side middle of the RV. Throw on some gloves and attach the sewer hose to the exit port after taking the cap cover off. Note: usually a bit of liquid comes out when you remove the cap, so don’t worry if there’s a bit of spillage. Make sure you double-check the hose connection by trying to wiggle it. There are 2 levers for grey and black. When you are dumping the tanks, make sure the hose is secured to the drain hole. I’ve used rocks to secure it out there is an anchor weight in the RV to hold it down so no splashing. Pull the black lever halfway and sewage will run through the house to the drain. Flowing, you can open all the way. Next, empty the grey water in the same manner. Campsite connections can stay open the entire time that you’re parked and flow freely. There’s a black bag with descending sections to prop up the hose while connected. This lets gravity assist fluids to drain properly. Please rinse the sewer hose out after dumping.Thank you!
Recommendations• No off roading allowed. Must keep the RV on pavement.•Sorry No Pets
Quick summary
AI generated
First-time RVers will love this Jayco Melbourne, designed for smooth travels.
Packed with a full kitchen, hot water, and solar for stress-free adventures.
A detailed guide, generator, and backup camera make every trip easy.
Drive with confidence; this diesel RV handles highways and mountains with ease.
2016 Jayco Melbourne
Length
24 ft
24 ft
Transmission
Automatic
Automatic
Fuel Type
Diesel
Diesel
Tank Size
20 gal
20 gal
Gross Weight
10,000 lbs
10,000 lbs
Sleeps
4
4
Seatbelts
4
4
Sleeping arrangements
3 beds

Full beds
2
2
Dinnette conversion
1
1

Popular choice! Viewed 222 times this month
Dates
Guest reviews
Excellent
2 reviews
Overall rating
5
4
3
2
1
Communication
5
Cleanliness
5
Maintenance
5
Value
5
Listing accuracy
5
John B.
July 2025
5.0Jason was a great host, very communicative and quick to respond. We enjoyed the RV and will rent again
Jason was a great host, very communicative and quick to respond. We enjoyed the RV and will rent again
Features
- Sleeps 4
- 4 seatbelts
- Fresh water: 25 gal
- Fuel type: Diesel
- Fuel capacity: 20 gal
- Automatic transmission
- Sleeps 4
- 4 seatbelts
- Fresh water: 25 gal
- Fuel type: Diesel
- Fuel capacity: 20 gal
- Automatic transmission
Amenities
- Linens included
- Toilet
- Inside shower
- Bathroom sink
- Toilet paper
- Hot water
- Generator
- Solar
- Water hookup
- Linens included
- Toilet
- Inside shower
- Bathroom sink
- Toilet paper
- Hot water
- Generator
- Solar
- Water hookup
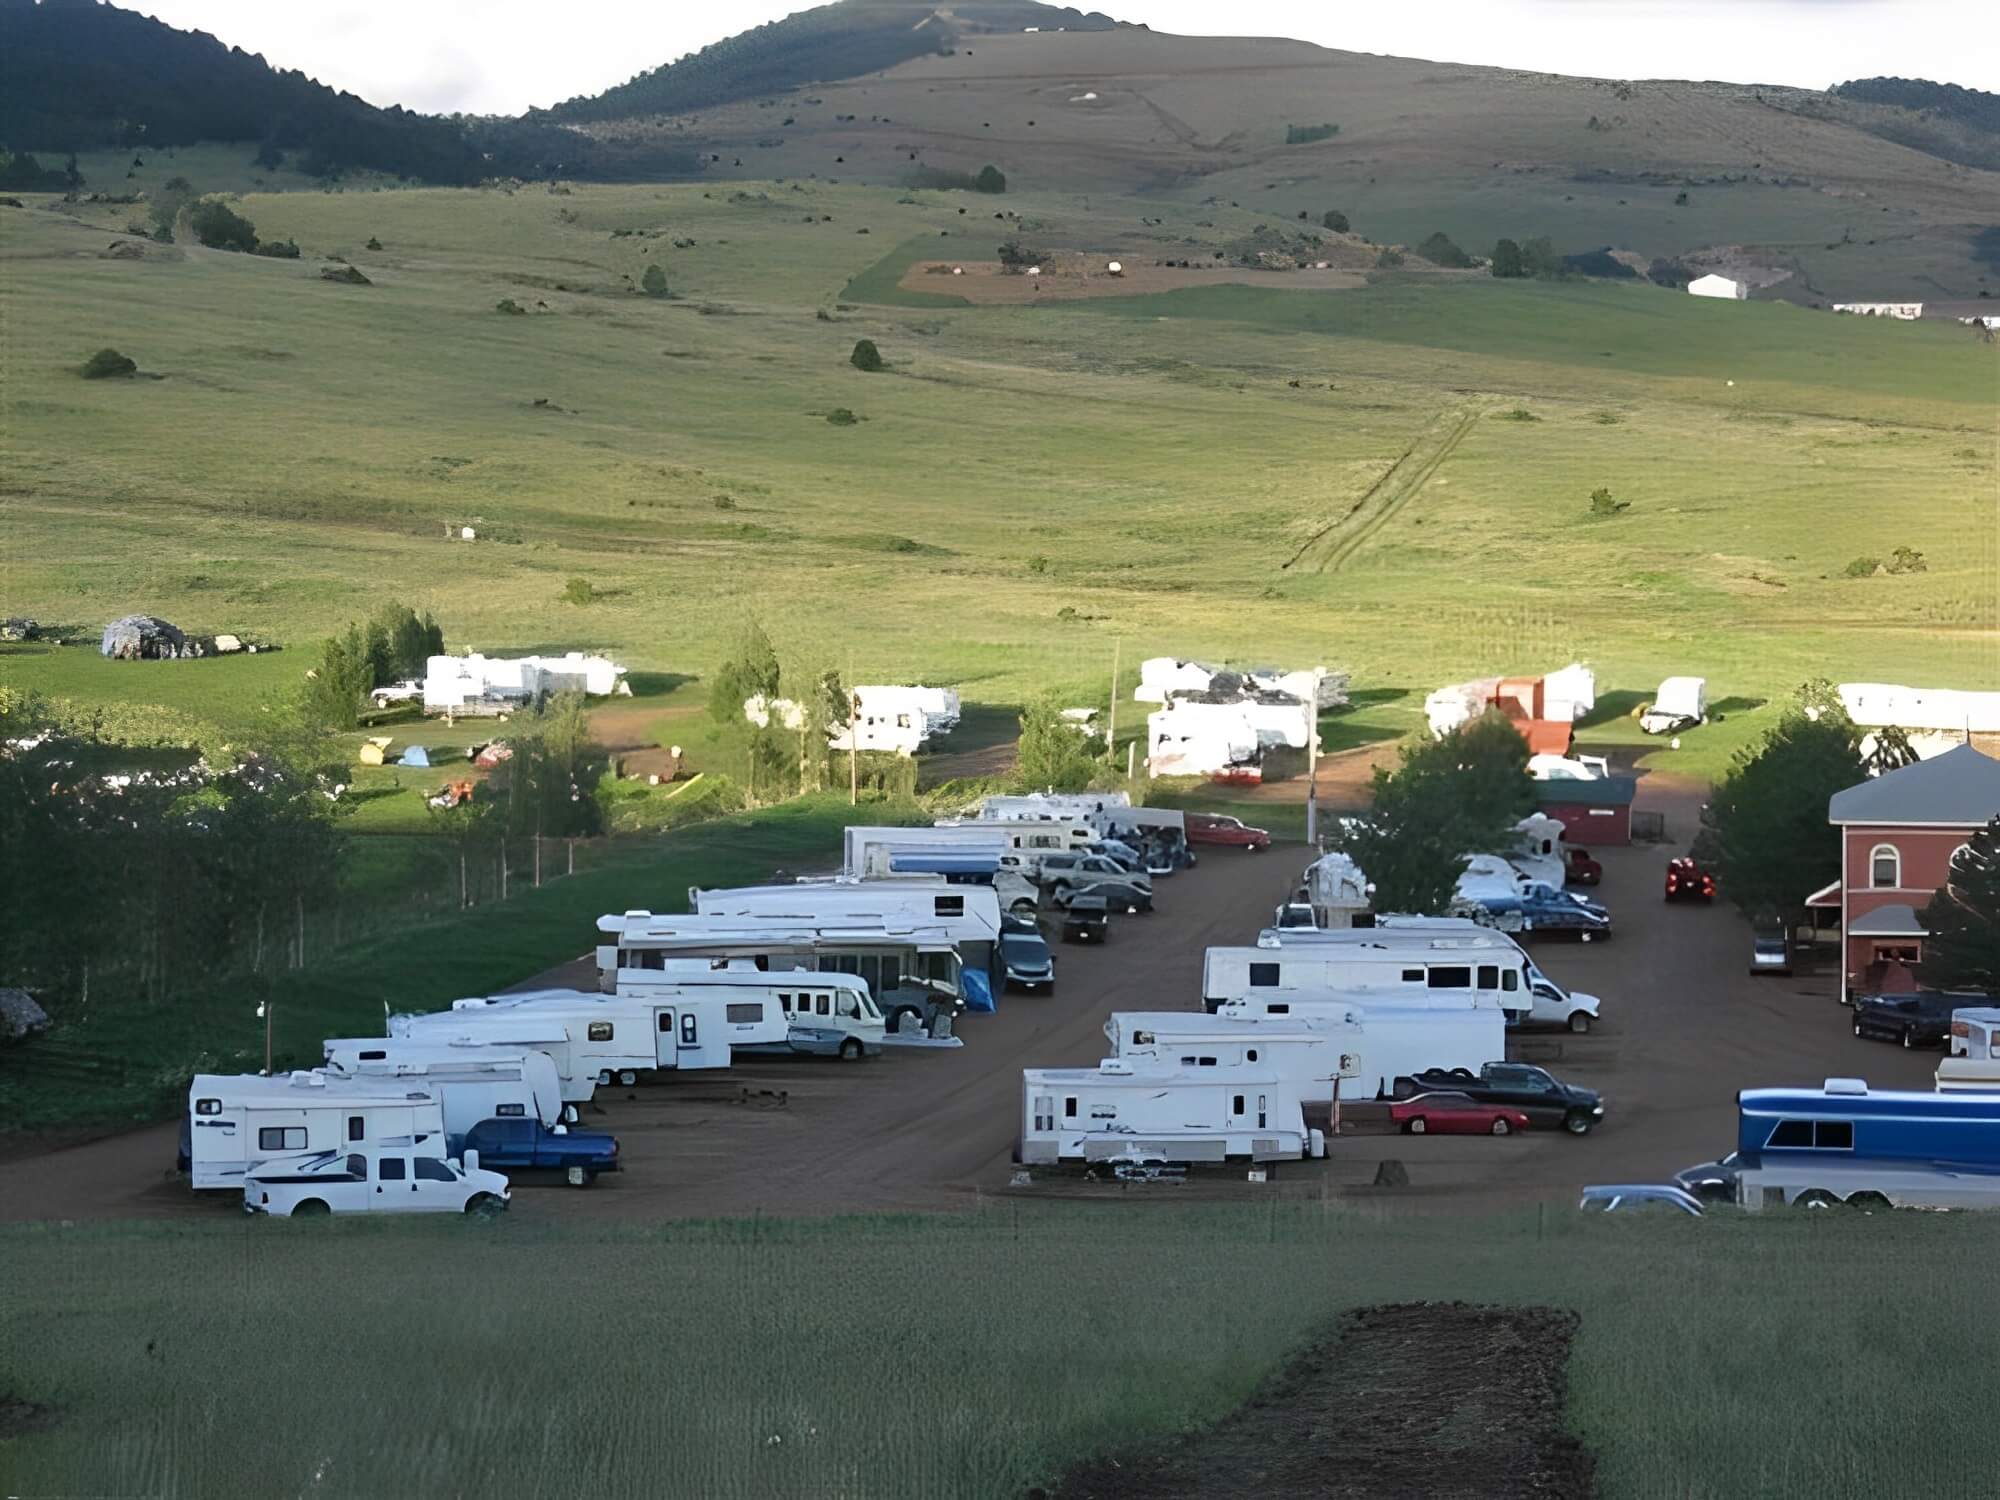
Nearby places to stay
Colorado Springs, CO • Exact location provided after booking

1. Jellystone Park™ Larkspur
Larkspur, CO • 28 miles away

2. Colorado Heights Camping Resort
Monument, CO • 17 miles away
3. Cripple Creek Hospitality House & Travel Park
Cripple Creek, CO • 20 miles away
4. Mountain View RV Resort
Cañon City, CO • 36 miles away
5. Royal Gorge RV Resort & Cabins
Cañon City, CO • 37 miles away
Availability and RV fit not guaranteed. Please verify directly with campgrounds before booking.
Colorado Springs, CO • Exact location provided after booking
Rules and policies
- 2 PM start time
10 AM end time - Music festival friendly
- Tailgating friendly
- Not pet friendly
- No smoking
- Unlimited mileage
- Unlimited generator hours
Cancellation: Flexible
Meet your host, Jason
Member since 2022